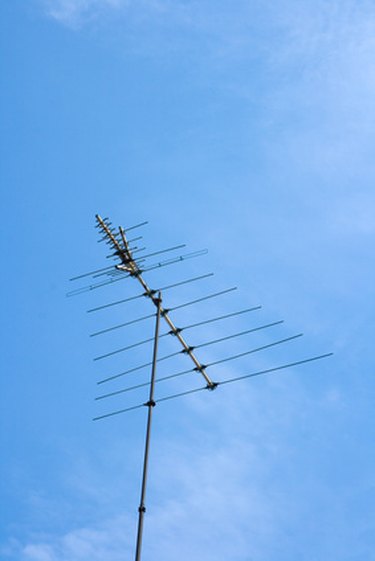
Now that more and more homes are switching to cable television, there are a number of unused antennas that create an unnecessary eyesore on the house's exterior. There are several things to keep in mind when removing your antenna. Depending on how the size of the antenna, the project can increase or decrease in difficulty. Gather all the things that you may require to finish the project before you begin so you won't find yourself climbing up and down from your roof and possibly damaging it.
Equipment
Video of the Day
Before beginning the disassembly of your antenna, gather a power drill with the proper drill bits to remove the hardware from the antenna. If the antenna is very large, you will want to use some rope to lower the larger arrays of the antenna down to the ground or at least steady its descent. This is necessary to prevent damage to the house and surrounding landscape. Obtain some putty or sealant and something with which to apply it. Depending on the structure of your home, you will also need a ladder, or possibly several ladders, to get on the roof.
Video of the Day
Removal
In order to remove the antenna, first remove any of the smaller arrays that you can detach. Removing these smaller arrays first will make for an easier time removing the larger array. In order to remove the main array, find the cable coming from the house and detach it to prevent damage to your home. After detaching the cable, you can begin loosening the bolts to the main array. Before removing the bolts, make sure you have sure footing and a place to rest the antenna. Once the bolts are removed, detach the antenna and rest it on the roof. Attach the rope to the antenna and lower it to the ground. Now you will need to remove the support post and all the brackets.
Finishing
Once all the hardware is removed and all screws and bolts are removed from the side of the house, make sure to fill all the holes that are left behind with a sealant. Feather the sealant out to keep the wall free from leaks. You will also want to paint over the sealant with a primer in order to weatherproof the area, and if you have spare paint, coat it with the color of the wall.