Applying background color to Adobe InDesign CC boxes, which are called Frames, can be achieved in a few simple steps using the Fill tool, Swatches tool or Color panel. Since Frames provide the structure to your document, adding background color can strengthen your design by highlighting important information.
Creating a Frame
Video of the Day
Step 1
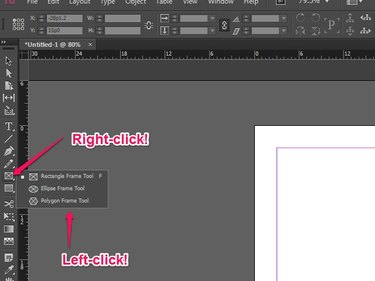
Right-click the Frame tool to reveal shape options and then left-click on the shape option you want to use for your frame.
Video of the Day
Step 2
Left-click and drag the frame out on your page.
Filling a Frame Using the Color Picker
Step 1
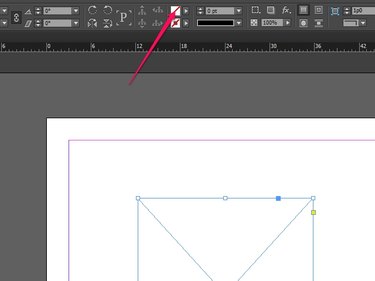
Left-click on your Frame to select it and then double-click the Fill tool to open the Color Picker.
Step 2
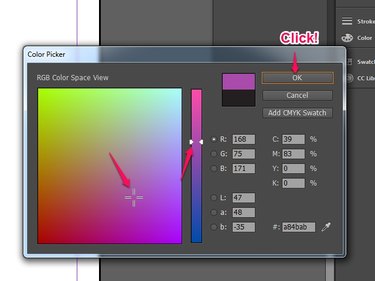
Move the slider and targeting cross hairs around to choose a color. When you are happy with your choice, click OK.
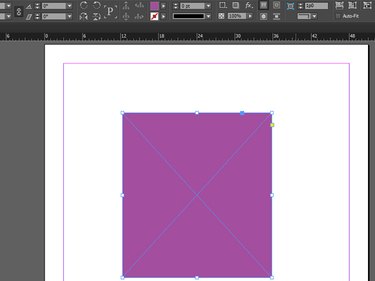
Your frame is now filled with the color you chose and ready for text and/or images. If desired, add borders to make the frame stand out more.
Removing a Background Color
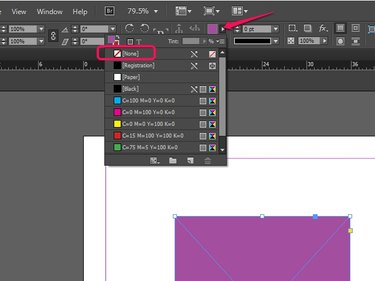
To remove the background color of your frame, left-click on the arrow beside the Fill tool to open up the Swatches panel and select None.
Filling a Frame Using Swatches
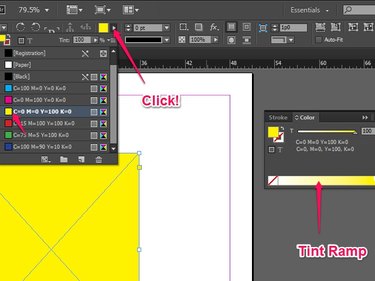
You can also apply a background color using the Swatches Panel. Left-click on the Fill tool's arrow to open up the Swatches panel and select a swatch. Use the Tint Ramp or Slider in the Color Panel to make adjustments.
Filling a Frame Using the Color Panel
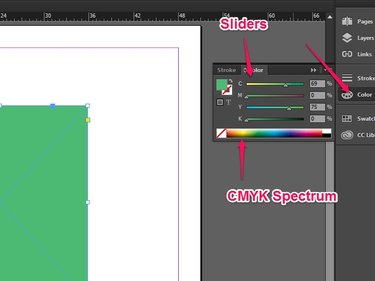
Select your Frame, click on the Color Panel (which looks like a paint palette), click in the CMYK Spectrum bar to select a color and then adjust the hue using the CMYK sliders.
