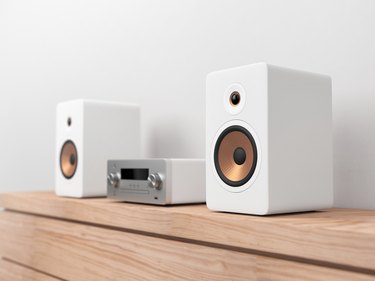
Constant speaker buzzing or static sound coming out of your speakers can make it annoying to listen to music. In some cases the buzzing sound can be caused by an electrical ground loop. Another cause of the buzzing might be a blown speaker. When a speaker is blown it doesn't need to be replaced, however – in most cases this is actually a very minor problem, and one that you can fix on your own without much difficulty.
Fixing a Ground Loop
Video of the Day
Since ground loops are fairly easy to identify and fix, checking to see if this is the issue should be your first step. A ground loop hum refers to when two or more different electrical items in a system have the same ground connection. This results in a small electrical current entering the low-voltage signal paths, causing the unwanted interference. To address this, follow these steps:
Video of the Day
• Check the Volume: Check the volume levels on any source equipment such as your PC or amplifier. These levels should be set to at least 75-percent of maximum. Adjusting the actual volume should be done on the speakers themselves.
• Check Power Connections: Make sure that your power connections for all equipment in the system are in the same MAINS connection and not to different circuits.
• Add an Audio Ground Loop Isolator: This is a simple device that can be purchased from any electronic store. Add this between the amplifier and the speakers to help isolate the unwanted electrical noise before it is actually amplified and becomes audible.
Fixing a Blown Speaker
If a ground loop isn't the issue, move on to check for and repair a blown speaker. The first thing you'll need to do is gather together a damp cloth, a screwdriver, and rubber cement. Make sure that the speaker is plugged in and ready to play. It is often easiest to perform this repair in the same room as your entertainment system.
Step 1: Expose the Speaker
When ready, remove the protective covering over the speaker where the buzzing is coming from. These covers are typically held in place with three or four screws, but it may be just clipped on. Once the cover is removed you will be able to see the speaker membrane over each cone. If necessary, carefully wipe down the speaker membrane with the damp cloth so that you can clearly see it to locate the hole or tear.
Step 2: Locate the Problem
Play some music through the speaker. This will help you to locate the tear or hole more easily. The louder the buzzing, the closer to the edge of the membrane the problem will likely be. Even small holes or tears can cause a noticeable buzzing, though, so take your time and look very closely until you locate the hole or tear. As the music plays you will see the damaged area appear to be opening up a very small amount. This can be hard to spot on smaller tears and holes, so examine the membrane carefully.
Step 3: Patch the Damage
Once you've identified where the rip or hole is, disconnect the power from the speaker. Next, carefully take a very small amount of rubber cement and apply it over the area. Spread it out to create a very even layer on and around the damage.
Step 4: Test the Speaker
Once everything is completely dry, plug the speaker back in and try it at low volumes. Slowly increase the volume while listening carefully for any remaining buzzing. If you don't hear buzzing, reattach the protective cover and you can begin using your speaker again.