Excel macros are associated only with the workbook in which they are created. However, it isn't necessary to recreate a good macro in another workbook to apply the same actions. Macros can be copied, moved or made available to other workbooks.
Copy a Macro from One Workbook to Another
Perhaps the simplest way to "import" a macro from one workbook into another is using Copy and Paste.
Video of the Day
Video of the Day
Step 1: Display the Macro
Select the Developer tab and click on the Macros button to display the Macro dialog box.
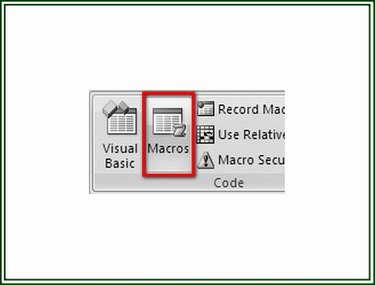
Step 2: Select the Macro
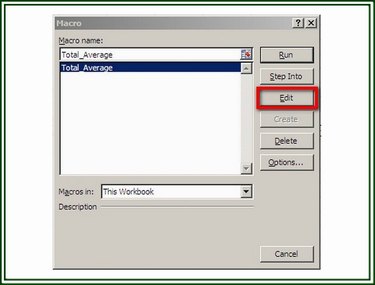
On the Macro dialog box, select the macro you wish to display in the Visual Basic (VB) editor and click on the Edit button to display the macro's VBA code.
Step 3: Copy the VBA Code
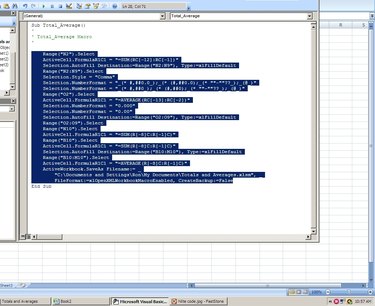
In the VB editor, select only the programming code statements of the macro; don't include the macro's title or the last line. Click on Edit and select Copy from the drop-down menu to copy the highlighted code.
Step 4: Paste the Code
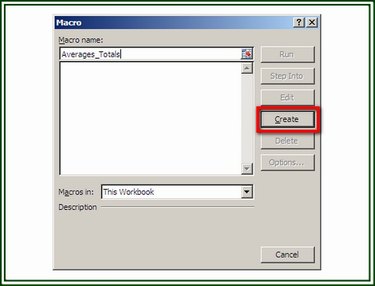
Open the workbook to which the macro is to be added. On the Developer tab, click on the Macros button. Assign a name to the macro and then click on the Create button to display the VB editor. When the VB editor opens, place the cursor on the blank line between the two statements. Click on Edit and choose Paste from the drop-down menu to insert the copied code. Click on File and Save to save the workbook and macro.
Export and Import a Macro
This method creates a VB code file (BAS file) that can be exported so it can be imported into other Excel workbooks.
Step 1: Export a Macro
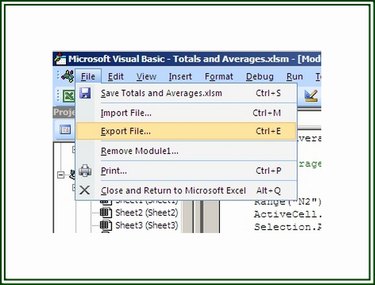
Open the VB editor and display the macro you wish to export. Click on File and choose Export File.
Step 2: Save the File
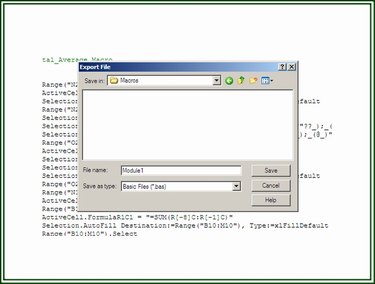
On the File Save dialog box, navigate to the folder in which the file is to be saved, name the file, and click Save. The file is now available to be imported into other workbooks.
Step 3: Import the BAS File
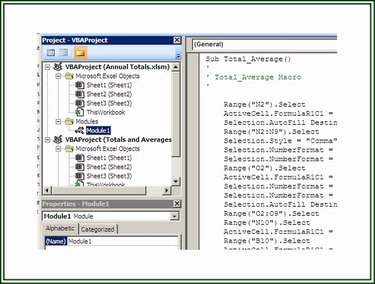
To import a BAS file and add it to a workbook project, select the Developer tab and click on the Visual Basic button to open the VB editor. On the VB editor, click File and then click Import File to display the Import File dialog box. Navigate to the appropriate folder and select the file to be imported. Click Open to import the file.
Creating the Personal Macro Workbook
When Excel starts up, it opens a Personal.xlsb file, if present, as a hidden workbook. This file contains macros available to any Excel workbook running on one computer. Creating a Personal.xlsb file provides a macro library of the macros available on that computer.
Step 1: Create the Personal.xlsb File
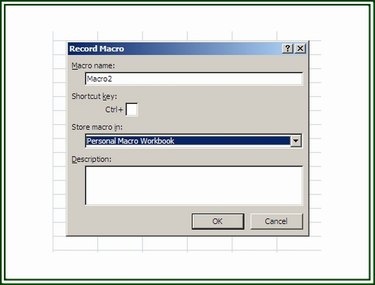
To create the Personal.xlsb file, open a New workbook in Excel. On the Developer tab, click on the Record Macro button to display the Record Macro dialog box.
Step 2: Record a Macro
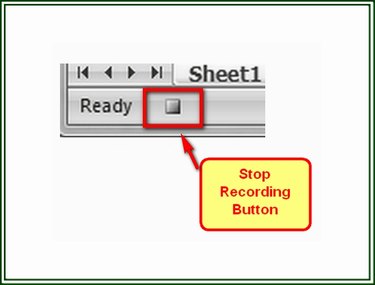
Assign a name to the macro, then select Personal Macro Workbook on the "Store macro as" option. Click OK to start the recording. Perform the actions to be included in the macro. When the actions are completed, click on Stop Recording on the Developer tab or click the Stop Recording button on the Status Bar in the lower left-hand corner of the workbook.
Step 3: Save the Personal.xlsb File
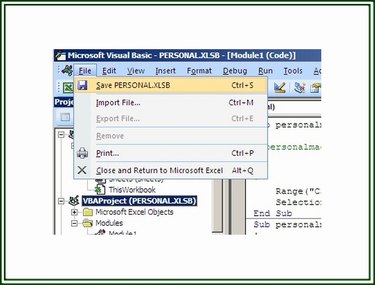
After completing the macro, click on the Visual Basic button on the Developer tab to open the VB editor. Select VBAPROJECT (PERSONAL.XLSB) in the Project pane. Click on File and then the Save PERSONAL.XLSB option.