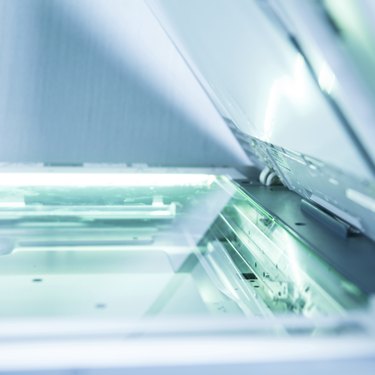
If you want to digitalize your negatives for future use and store them in your computer, you can do it with your present flatbed scanner and get great results. No need to buy a new, probably more expensive scanner.
Scanning a Negative Made Easy
Video of the Day
Step 1
Cut the negative you wish to scan from the strip. Use the micro-fiber cloth to remove any dust or fingerprints from the negative.
Video of the Day
Step 2
Place the negative in the center of the scanning bed and align it squarely with the sides of the scanner. Without moving the negative, place the 8-1/2 x 11 piece of paper on top of the negative.
Step 3
You will need to illuminate the negative to "project" the image in order to scan it. To do this, you will shine light from your lamp through the negative. With the scanner lid open (or remove it completely if you can), turn on the lamp and position it 4 to 6 inches above the piece of paper with the negative underneath.
Step 4
Boot up your scanning software and click "Scan" or "Preview." When the software completes the initial scan, crop the image so only the image on the negative appears. Click "Scan" again; after the final scan, crop again if needed. Save the image in a JPEG or GIF format.
Step 5
If you want to covert the negative to a positive, for example, to print the image as a photo, you need to convert it. Open the image in your photo-editing software. Find "Positive Exposure or "Invert Image" in one of the menus to convert the image to a positive. Click "Save" and you're done.