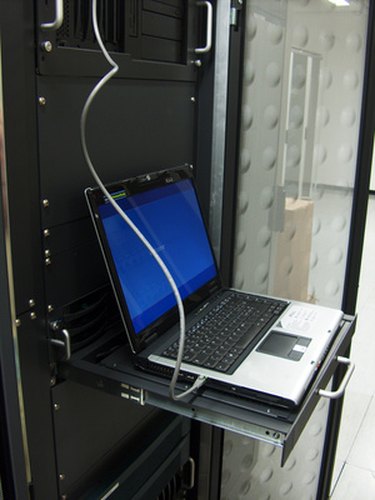
Server to client computer networks are common in businesses and can be useful in homes as well. This is different than simply connecting computers to a router to use the Internet, because another type of device or computer is set up as the server, which the other computers connect to. This type of network allows you to centrally manage the computers in the network and share files and printers with each computer. A server to client network works well in situations where you have more than three computers and you want to be able to access a resource, such as files or a printer, on all of the connecting computers. You should have at least a basic understanding of how computer networks work to complete this project.
Step 1
Connect all of the computers to be networked to a router. Attach one end of an Ethernet cable to a computer's network card and the other end to the proper connection on the router. Do this for each computer and the server to be networked. Power on the router and all of the computers.
Video of the Day
Step 2
Open the server management program on your Windows Server. Do this by clicking "Manage Your Server" from the start menu. Click "Add or Remove a Role." A new window will open with the configure your server wizard. Click "Next." A list of the different functions functions your server can perform is then displayed. Select "Domain Controller (Active Directory)" and press "Next." Click "Next" again to begin the active directory installation.
Step 3
Click "Next" on the installation wizard until reaching the page where you can select the option to specify that you are setting up a domain controller for a new domain. Press "Next" and then select "Domain in a New Forest." Type a name for your domain. This will be the name of your network. Click "Next" and a name will be displayed that will be used if your network contains a computer running an older version of Windows.
Step 4
Click "Next" until reaching the step called "DNS Registration Diagnostics." Select the option to "Install and configure the DNS server on this computer," and then set this computer to "Use this DNS server as it's preferred server." Click "Next" until reaching the screen where you must enter a password for the administrator. Click "Next" and run the installation. Insert the server installation disc if required. Restart the computer to complete the installation when prompted to.
Step 5
Reopen the Manage your Server program. Click "Manage Users And Computers In Active Directory." Add a computer object for each computer in the domain. Add user accounts for each user that will log on as well.
Step 6
On each computer in the network, open the system properties from under control panel. Click "Change..." on the computer name tab. Click "Domain" and then enter the name of the domain. Enter a user name and password for the domain when prompted. Restart the computer. You can now access the domain and log on to the server.
Video of the Day