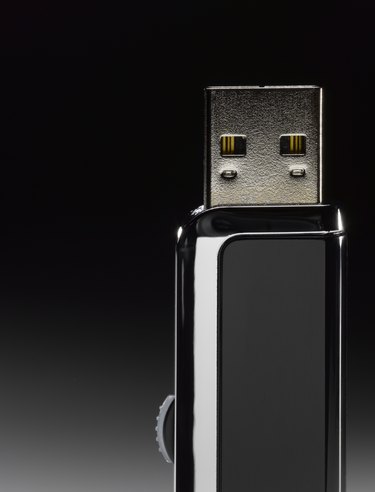
Your DISH DVR-capable receiver stores hours of recorded content, but the receiver's storage space isn't unlimited. Expand your DVR storage capacity by connecting a USB hard drive to your DISH receiver. Before you can watch and manage recorded content, format your USB drive so that it is compatible with your DISH receiver.
Format USB Hard Drive
Video of the Day
Step 1
Connect the USB hard drive's power supply to an electrical outlet and then connect the hard drive's USB cable to the USB port on your DISH receiver. DISH receivers don't have USB bus power; they are only compatible with hard drives that have dedicated power supplies.
Video of the Day
Step 2
Select "Yes" when the warning appears on your TV screen asking you to format your USB hard drive for use with your DISH receiver. Formatting your hard drive removes all the data from it. If there is anything on the hard drive you want to save, connect it to your computer first and back it up.
Step 3
Choose "Yes" again to confirm that you want to format the drive. You only need to confirm the formatting if you are using a 612, 622, 722 or 722K DISH receiver. The formatting commences automatically on 922 and Hopper models. On all receivers, a message appears on your screen when the drive is formatted and ready for use.
Watch and Manage Content -- 612, 622, 722 and 722K Models
Step 1
Press the "Menu" button on your DISH remote, select "Multimedia" and then select "My Media" under the External USB Devices heading to load the My Media screen.
Step 2
Select "Manage Device" on the My Media screen to load a list of content saved on the USB drive. To watch content, highlight the recording and click "Play." To delete content from your hard drive, highlight the recording and click "Delete."
Step 3
Choose "Send to Device" on the My Media screen to transfer content from your receiver to your external drive. Highlight the content you want to transfer and then click "To Archive" to move it onto the hard drive.
Step 4
Select "Manage Device" on the My Media screen to transfer content from your hard drive onto your DISH receiver. Highlight the content you want to transfer and then click "Restore."
Watch Content -- 922 and Hopper Models
Step 1
Press the "DVR" button on your DISH remote to load a list of recorded content.
Step 2
Highlight "Media Room" on the DVR menu, if it isn't selected automatically, and then click the name of your USB hard drive on the list of available devices.
Step 3
Highlight a recording and press "Play" to play it. To delete a recording, highlight it and select "Delete" on the DVR menu.
Manage Content -- 922 and Hopper Models
Step 1
Press the "Menu" button on your DISH remote. Select "Recordings Transfer" or "External Hard Drive" depending on whether you have a 922 or Hopper receiver, respectively. The Transfer screen appears after you make your selection.
Step 2
Select your receiver in the Transfer FROM box and your USB hard drive in the Transfer TO box to begin saving content onto your hard drive. Click the "Next" button and select the content you want to move onto the hard drive.
Step 3
Choose your hard drive in the Transfer FROM box and your receiver in the Transfer TO box to transfer content onto your receiver. Click the "Next" button and select the content you want to move.