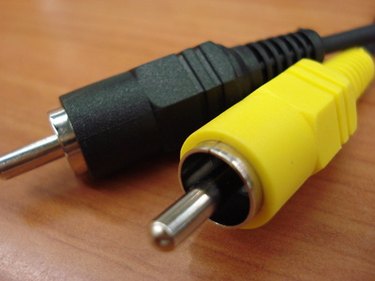
Yamaha audio-video receivers are equipped with a variety of connecting jacks for hooking up different types of electronic equipment. Component AV cables are typically used for hooking up the receiver to a cable TV box. Component cables can also be used to connect the Yamaha receiver to an HDTV, although a High Definition Media Interface (HDMI) cable offers a simpler connection if the receiver is equipped with HDMI (all HDTV sets are equipped with the distinctive, six-sided HDMI jack). The connections should take less than five minutes.
Step 1
Check the back of the Yamaha receiver to determine if HDMI is available. The six-sided jack contains 19 holes set in three rows. If the receiver is equipped with an HDMI Out port, use an HDMI cable to connect to the TV by inserting the plug straight into the jack with the wider end turned upward.
Video of the Day
Step 2
Insert the red, green and blue plugs on a set of component AV cables into the Video Out jacks on the cable TV box, matching the plug colors to the jacks.
Step 3
Connect the plugs on the other end to a set of Video In jacks on the back of the Yamaha receiver. Make a note of which jacks are used for the connection. Each set of jacks is labeled on the receiver.
Step 4
Insert the audio plugs on the component cables into the Audio Out jacks on the cable box, using the white plug for the left channel and the red plug for the right.
Step 5
Attach the plugs on the other end to the Audio In jacks on the Yamaha receiver.
Step 6
Use a second set of component AV cables to connect from the AV Out jacks on the Yamaha to the AV In jacks on the HDTV only if an HDMI cable was not used.
Video of the Day