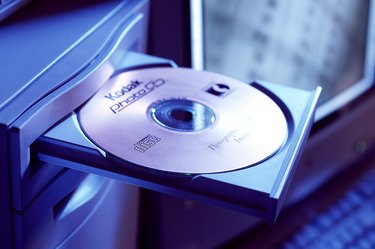
CDs tend to get scratched after frequent use. You can protect your investment by downloading songs from your CD to your computer. The process, known as "ripping," is simple and can be done in a few steps. So start gathering all your CDs that you want on your computer.
Ripping With iTunes
Video of the Day
Step 1
Download iTunes from the Apple website (http://www.apple.com/itunes/). When the installation is completed, open iTunes.
Video of the Day
Step 2
To start downloading CDs, take one CD from the pile and insert it into the CD drive. iTunes should recognize the CD and request whether you want to download it to your library. Click on the button that states "Yes." The CD subsequently downloads to your computer.
Step 3
Wait for it to download. You'll hear a "ding" sound when it is done. From the left pane, navigate to the "Playlists" section and click the "Eject" button. Click that button. The CD should eject from your computer. Remove it, put it in its case and insert the next CD.
Step 4
Play the songs by clicking the "Play" button in the top left corner of the screen. If you want to make the order of the playlist random, click the button with two arrows crossing each other in the bottom left corner.
Ripping With Windows Media Player
Step 1
Launch Windows Media Player by navigating to the "Start" menu and selecting "Programs" and "Windows Media Player."
Step 2
Select the "Rip" tab.
Step 3
Insert an audio CD into your computer's CD drive.
Step 4
Choose whether you want to add copyright protection to the songs copied onto your computer by selecting the appropriate radio button. Then check the box next to the statement warning you not to violate copyright laws. Press "OK." Your computer will begin to copy the songs from the CD. A list of songs will appear. Uncheck the box next to songs that you don't want to copy.