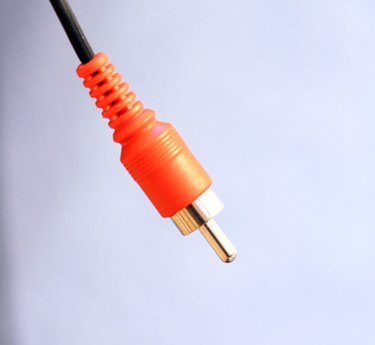
Connecting an HDMI cable to a rear-projection television can sound intimidating without professional help. Thankfully, many cable and satellite providers offer HDMI hookups, and the availability of adapters to accomplish the task has increased in recent years. Getting HDMI set up on your system is now as easy as going to the local electronics store.
Step 1
Examine the back of your rear projection TV to see what input options you have. Most sets manufactured recently will have an HDMI input. If not, look for component cable inputs (these are the green, blue and red-colored cables inputs). Some sets may have only coaxial cable inputs (these are the traditional cables that come from cable or satellite boxes) or even "video in" cables.
Video of the Day
Step 2
Purchase an HDMI adapter at you electronics store that will marry an HDMI input with your input method identified in Step 1. For example, you may need an adapter to go from HDMI to coaxial cables. Electronics store employees often can get you a solution quickly based on your input specifications.
Step 3
Plug the new cable into the back of your television. The remaining end of the adapter will be an HDMI input.
Step 4
Attach your HDMI output cable (such as from a satellite television provider or BluRay disc player) to the HDMI input adapter you just acquired. You can now enjoy your entertainment options using HDMI output.
Video of the Day