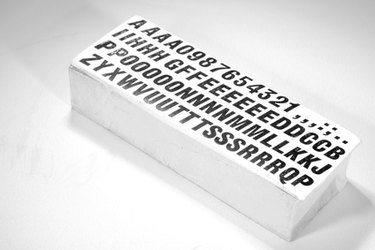
Microsoft Publisher was first released in 1991 and has become prominent in the desktop-publishing world by allowing users to create fliers, brochures, booklets and more. New features and capabilities have been added to the software since its initial release to create a more customized and useful software. Adding new fonts to MS Publisher is one of the best ways to expand your desktop publishing skills and create truly unique documents.
Step 1
Find a font in an online font database and either download it immediately (if you are browsing a free font site) or purchase the font and save it to your computer. Save the font file in a location that you can easily remember, because you will need to find it later.
Video of the Day
Step 2
Select "Start" from the bottom Windows toolbar and click "Settings" followed by "Control Panel" to display a menu with a number of configurable options for many parts of your computer.
Step 3
Open the "Fonts" folder from the Control Panel and select "Add New Font" from the "File" drop-down menu.
Step 4
Navigate the "Drives" and "Folders" windows at the top of the font menu to find where you saved the font. When you find it, click the font's name once to highlight it and press the "Install" button.
Step 5
Run MS Publisher and open a new or existing document. Click the font selector in the formatting toolbar to open the drop-down list of fonts. Your new font will be included on this list and can now be used in any of your Publisher documents.
Video of the Day