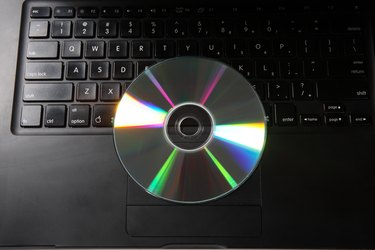
Many Windows laptops come equipped with a CD burner and CD burning software which allow you to create and burn custom audio and data CDs. You can burn an audio CD to make copies of your favorite songs or to create a mix CD to share with friends. Or you can burn data CDs to create a backup of important files and documents. If your laptop does not come equipped with an internal CD burner you may consider purchasing an external CD drive/burner that can be connected to your laptop.
Windows Media Player
Video of the Day
Step 1
Open Windows Media Player by clicking on "Start," selecting "All Programs" and choosing "Windows Media Player."
Video of the Day
Step 2
Locate the "Burn" tab at the top of Windows Media Player.
Step 3
Click on the arrow below the "Burn" tab to access the options menu.
Step 4
Decide what type of CD you want to burn and click on the "Audio CD" or "Data CD" tab.
Step 5
Insert a blank CD-R or CD-RW disc into the CD burner drive of your laptop.
Step 6
Locate the "Burn List" pane on the left side of Windows Media Player. If there are files already in the Burn List, click on the "Clear List" button to remove those files.
Step 7
Select the music or files from your library that you would like to copy to the disc.
Step 8
Drag the music or files from your library's details pane on the right side to the Burn List pane of the left side.
Step 9
Inspect the Burn List pane to make sure that you've added all the music or files you want to burn.
Step 10
Click on the "Start Burn" button located at the bottom of the Burn List pane to begin burning your CD.
Step 11
Allow the CD to burn completely without interruption. You'll be notified once the CD has burned successfully.
Windows CD burning utility
Step 1
Insert a blank CD-R or CD-RW disc into the CD burner drive of your laptop.
Step 2
Open the folder containing the files that you would like to burn to the CD.
Step 3
Right-click the files you would like to burn, then select "Send To," then "DVD/CD-RW Drive." Your CD writer might also be called "DVD RW Drive" or something similar.
Step 4
Locate the CD balloon icon that appears at the bottom of your computer (in the system tray) notifying you that your files are ready to be written to CD.
Step 5
Click the CD balloon icon to view the list of files.
Step 6
Click "Write these files to the CD" to access the CD Writing Wizard.
Step 7
Follow the CD Writing Wizard directions to burn your files to your CD-R or CD-RW disc.