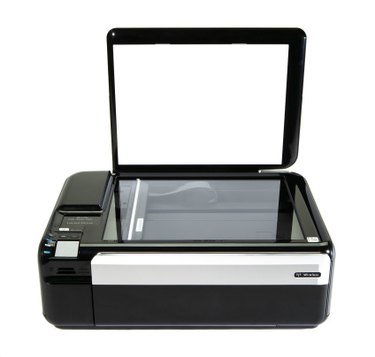
Epson printers interact with a computer through a software package you install on the computer with the printer's installation CD. The software communicates any problems with the printer's operation to the computer, including if the ink cartridges run out of ink. If you refill the ink cartridges instead of buying new ones, the printer's software will display an out of ink error message every time you try to print. You can disable the warning message in a few minutes.
Windows
Video of the Day
Step 1
Install the refilled print cartridge in the printer. Click the "Start" or Windows button on the left side of the taskbar.
Video of the Day
Step 2
Click on the "Control Panel" option in the menu. Select the "Printers" or "Printers and Faxes" option in the new window.
Step 3
Right click on the printer's icon in the new window. Click "Preferences" in the menu that pops up.
Step 4
Click the "Maintenance" tab then click the "Speed and Progress" button at the bottom of the window. Click the blank box next to "Disable Epson Ink Status Monitor" so a check mark appears in the box.
Step 5
Click the "OK" button twice to close both of the open windows. The out of ink message will no longer appear when you print.
Mac
Step 1
Install the refilled ink cartridge in the printer. Open any document, the click "File" and then click "Print." You can also press the "Command" and "P" keys together.
Step 2
Select the Epson printer you are using from the menu at the top of the new window. Click the "Copies and Pages" tab in the menu that pops up.
Step 3
Find "Disable Epson Ink Status Monitor" and click on the button next to it so the button is filled in. Click the "Save As..." button at the bottom of the window.
Step 4
Type in a name for the settings, such as "New Settings." Click "Save" to finalize turning off the out of ink message.