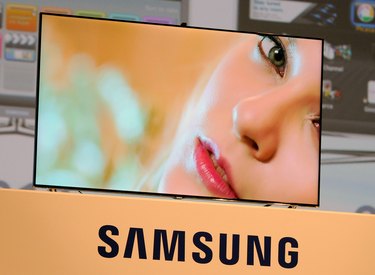
While every new Samsung HDTV comes from the factory pre-calibrated with a default setting scheme, this scheme often isn't ideal for every room. Optimizing your settings to match your tastes or the lighting conditions in your room is fairly simple, albeit time consuming. There are numerous settings and options that configure not only lighting and color, but motion quality and other elements of the picture.
Step 1
Press the Menu button on your Smart Remote and select "Picture" to enter the picture settings menu. You'll see several options here: Picture Mode, Backlight, Contrast, Brightness, Sharpness, Color, Tint (G/R), Advanced Settings and Picture Options.
Video of the Day
Step 2
Select "Picture Mode" to choose from several pre-programmed settings. Finding a picture mode relatively close to what you want will make fine-tuning the image to your exact preferences quicker and easier, as some settings will likely already be ideal. Depending on your model, you may see additional options, but all Smart Hub Samsung HDTVs feature "Standard," "Dynamic," "Natural" and "Movie."
Step 3
Select "Backlight." Adjusting this option adjusts individual pixel brightness, effecting the overall brightness of the screen. Lower Backlight settings reduce power consumption but present a dimmer overall picture.
Step 4
Select "Contrast." This option adjusts the screen's contrasts, the difference between dark areas of the picture and bright. Higher contrast settings creating more visually dynamic images with more "pop," but setting contrast too high can make the image too bright.
Step 5
Select "Brightness." This adjusts overall brightness of the image itself, but doesn't effect the backlighting or power consumption.
Step 6
Select "Sharpness." This option sharpens or dulls the edges of objects in the image, with higher sharpness producing harsher lines, but lower sharpness creating blurrier ones.
Step 7
Select "Color." This adjusts the overall color saturation of the image, with too low a setting producing a dull, washed-out image and too high a setting making the colors harsh.
Step 8
Select "Tint (G/R)." This option is actually rarely necessary, as it increases the red or green saturation of the image. Too much in either direction can produce bizarrely off-color images, so generally this option should be left alone at the midpoint setting.
Step 9
Select "Apply Picture Mode" to save the changes to your settings.
Video of the Day