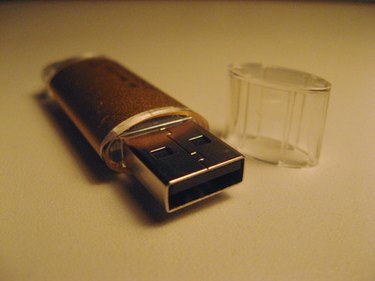
Normally when you power on your Toshiba Satellite laptop it attempts to boot the operating system installed on its hard drive. In some instances you may want to boot the Satellite laptop from a different device, such as an operating system installation CD or a USB drive. The boot order doesn't have to permanently be set to the hard drive. It's possible to access the boot order before the operating system loads and change which device is set to boot first.
Step 1
Turn off the Toshiba Satellite laptop. Turn it back on immediately and wait for the "press the F2 key to enter Setup" entry to show up on the screen.
Video of the Day
Step 2
Press the "F2" key to access the Toshiba Satellite's BIOS menu. Use the right arrow key to navigate to the BIOS tab labeled "Boot."
Step 3
Scroll down to the option labeled "Boot Priority" and tap Enter. Check through the list of devices and locate the specific device you want to use to Boot your Toshiba laptop, such as "CD-ROM," "USB" or "LAN."
Step 4
Highlight the name of the device in the list and then tap Enter to make it the top boot priority. Use the right arrow key again to scroll over to the "Exit" BIOS menu.
Step 5
Tap the down arrow key to highlight the "Save and Exit" option. Press Enter to save the new boot order and restart your Toshiba Satellite laptop.
Step 6
Repeat the procedure when you want to change the boot order back to its original setting.
Video of the Day