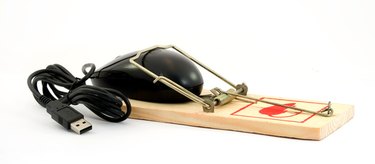
A wireless mouse is useful because it gives you the freedom to scroll through and click on pages without having to worry about getting your mouse wire tangled. If your wireless mouse isn't working correctly, it usually means your receiver and your mouse are not on the same channel. To verify that your receiver is working, you must check whether it is properly connected into your USB drive and that the batteries are new. After that, you will be able to change the channel.
Step 1
Remove the batteries from the mouse and receiver. This will let the mouse and the receiver get back into a neutral/fresh state. The connection can be acquired faster if the wireless mouse and receiver are on neutral channels.
Video of the Day
Step 2
Add batteries and press the "Connect" button on the receiver. The receiver will start to flash then it will change to a steady light. When this steady light comes on, press the connect button on the wireless mouse.
Step 3
Connect the wireless mouse. Pressing the "Connect" button will make the mouse flash then have a steady light (just like the receiver). This will indicate that the wireless mouse and receiver are on the same channel.
Step 4
Place the receiver at least eight inches away from the mouse. If the mouse gets out of this range, then the channel, linking the mouse to the receiver, will be disturbed and you will have to re-connect them.
Video of the Day