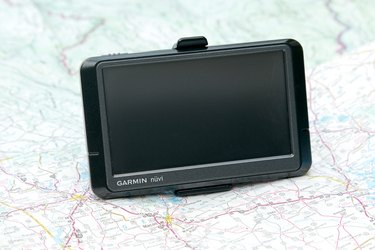
Garmin GPS devices are equipped with internal lithium-ion batteries that you can charge using one of three methods. A fully charged battery should last between four and eight hours depending on the usage and settings of the device. To extend your Garmin GPS battery life, reduce the time the backlight stays on using your "Settings Display" tab, close the antenna of the GPS when you don't need to receive GPS signals, and avoid exposing your Garmin GPS to direct sunlight or excessive heat for long periods of time. A battery charge gauge at the upper right corner of a Garmin GPS screen shows the status of the internal battery.
Vehicle Power Cable
Video of the Day
Step 1
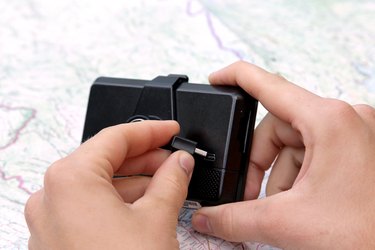
Connect the small end of the vehicle power cable to the side or back of your Garmin GPS device.
Video of the Day
Step 2
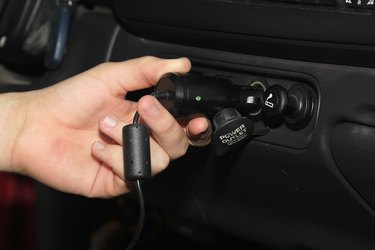
Plug the round end of the vehicle power cable into a power plug in your vehicle.
Step 3

Turn your vehicle on. The battery in your Garmin GPS device continues to charge until the battery is fully charged as long as the your vehicle is running.
AC Power Cable
Step 1
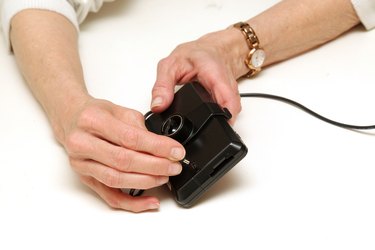
Insert the small end of the AC power cable into the side or back of your Garmin GPS device.
Step 2
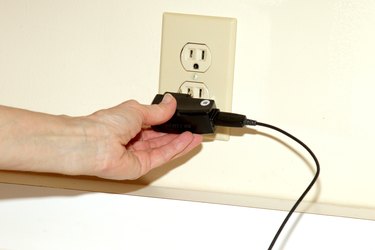
Plug the other end of the AC power cable into a wall power outlet.
Step 3
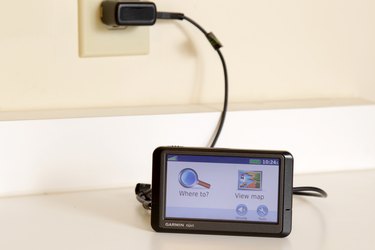
Keep your Garmin GPS device plugged into the AC power outlet until the battery gauge displays full bars.
USB Cable
Step 1

Connect the small end of the USB data cable into the side or back of your Garmin GPS device.
Step 2
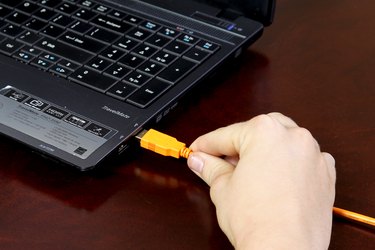
Plug the other end of the USB cable into a free USB port on your computer.
Step 3
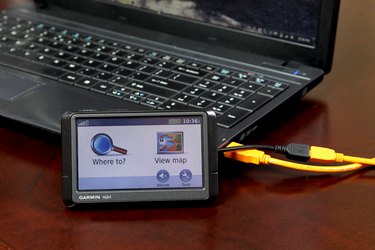
Turn your computer to initiate charging the internal battery on your Garmin GPS.