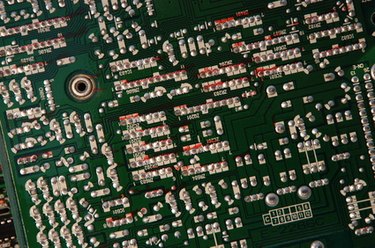
Capacitors are an essential part of any circuit board. They store up and release electrical charge, while also blocking certain kinds of current and allowing others to pass. However, in their normal operation they can occasionally malfunction and burst, leaking electrolyte over the circuit board and leaving a mess known as "capacitor plague." The good news is that capacitors can be replaced and capacitor plague can be removed in a few steps. With the right supplies and technique, you can clean circuit boards that had leaking capacitors.
Step 1
Disconnect the device from any power source. If the device has a large amount of voltage stored in its capacitors, discharge the capacitors with a capacitor discharge tool before cleaning.
Video of the Day
Step 2
Remove the damaged circuit board from the device. In some cases circuit boards may be removed by flipping a locking tab and sliding it from the device. In other cases, the screws holding the circuit board in place must be removed with a screwdriver before the circuit board may be removed. If the circuit board is not removable, clear as much of the device's internal parts out of the way before cleaning the circuit board.
Step 3
Cut the leads attaching the burst capacitors to the circuit board with a wire clippers and discard them.
Step 4
Brush away any dry or loose capacitor electrolyte from the circuit board with a toothbrush.
Step 5
Apply a small amount of isopropyl alcohol to the end of a cotton swab and wipe any remaining capacitor electrolyte from the circuit board. The circuit board is now clean and ready for the capacitor replacement process.
Video of the Day
- The Electrical Web Matrix of Digital Technology: Replacing a SMD Electrolytic Capacitor
- Capacitor Lab: Visual Signs of Capacitor Failure
- Dead Programmer: The Capacitor Plague
- Soft Solder.com: Capacitor Plague Up Close
- ASTi Application Note 65: "Capacitor Plague" Remediation
- Cementex USA: Capacitor Discharge Tool