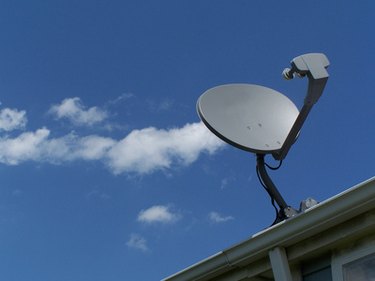
It takes two coaxial cables to bring the signal from a dual LNB satellite dish into your home. Each coaxial cable runs to your satellite receiver to deliver the satellite programming you want. A dual LNB satellite dish brings you more programming options than a single LNB system, because a dual LNB can receive satellite signals from two different satellites at the same time. These extra channels are a bonus on your programming options, but you can only enjoy them if you install dual LNB satellites correctly.
Step 1
Mount the dual LNB dish to your roof by securing the base of the mount, also known as the foot, with the six enclosed bolts.
Video of the Day
Step 2
Add sealant by caulking it around each bolt to protect the bolts from corrosion due to exposure to the outdoors.
Step 3
Insert the J-pole in the foot of your satellite mount.
Step 4
Use a level to adjust the top of the J-pole so it sits level with the ground. Tighten the bolts at the bottom of the satellite pole to secure its position.
Step 5
Slide your satellite dish onto the J-pole, using the bolts in the back to secure it in place. Keep the bolts a little bit loose until you aim your dual LNB dish to the right location.
Step 6
Point your satellite dish to the appropriate coordinates, using a compass with numbers as your guide. Dual LNB satellites tune in the 119 satellite and the 110 satellite. Adjust your satellite as necessary until you tune in both of these satellites with a strong signal on each.
Step 7
Tighten the bolts on the back of your dual LNB dish to secure it in place.
Video of the Day