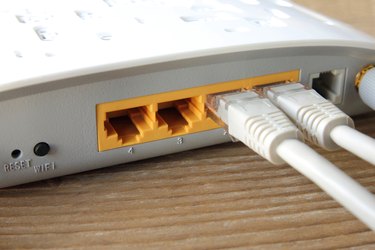
How to Connect a Laptop to a Wireless Router. Having limited mobility because your laptop is tethered to your Internet connection by wires defeats the whole purpose of a laptop computer. If you want to be able to access the web or share files and printers with another computer and still have the freedom to move around, you'll have to connect to a wireless router. It's easy enough to do and well worth the effort.
Connect a Laptop to a Wireless Router Using a Windows Operating System
Video of the Day
Step 1
Purchase a wireless router that fits your needs and price range.
Video of the Day
Step 2
Follow the router's manual to set up the router and its Internet connection, which will probably require connecting a wired client to the router. Once the wireless router is set up, the wired connection is no longer necessary. However, it's best to leave the wired client connected if it's a separate computer from that on which you're going to set up WiFi. If something goes wrong, you can access the administration interface again.
Step 3
Gather information from the setup process. In order to set up the wireless client, you will need to know the service set identifier (SSID), the Wireless Encryption Protocol (WEP) key and the channel and mode.
Step 4
Boot up the laptop and plug in the WiFi card. This will not be necessary if your laptop has an integrated WiFi card.
Step 5
Install any drivers needed to use the WiFi card. Insert the disc that came with the WiFi card and follow the on-screen installation process. Most discs will trigger a new hardware wizard that makes installation extremely simple.
Step 6
Double-click on the "WiFi Connection" icon. It can be found in the system tray at the bottom of the laptop screen.
Step 7
Click on "Properties."
Step 8
Select the "Wireless Networks" tab.
Step 9
Use the "Add" button at the bottom of the dialog if your WiFi network isn't in the "Available Networks" section.
Step 10
Click on "Configure" when you see your network's SSID in the "Available Networks."
Step 11
Enter your network's SSID and WEP key.
Step 12
Click on "Start," then choose "Connect To" and "Wireless Network Connection." Your computer should now be able to access the WiFi network. If the WiFi network is connected to the Internet, it should also be able to connect to the Internet.