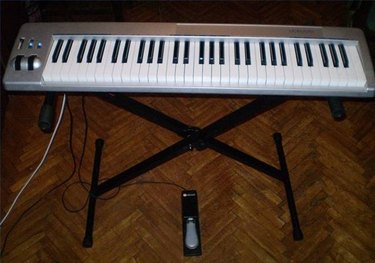
Connecting a MIDI keyboard to a PC will enable you to use a range of software and interactive features with the device. Connection is the first step before using the keyboard. It can be accomplished in a variety of ways depending on your available ports, software and type of keyboard.
Step 1
Locate the MIDI port on your keyboard. Most keyboards will have a MIDI in and MIDI out port located near the back for connection to the PC. The ports are circular and usually labeled clearly. If the keyboard does not have a MIDI port, it may have a USB port. Locate one of these ports for connection.
Video of the Day
Step 2
Determine the type of port you'll be using to connect the keyboard to the PC. Connecting directly to the soundcard on your computer requires a 15-pin gameport found on the back of your PC. Connect to your PC through a USB port if you have a MIDI to USB connector or a USB port on your keyboard. Some computers come with a pre-installed MIDI port.
Step 3
To connect the keyboard to the soundcard, connect the 15-pin male connector to the 15-pin port on the back of your PC. Connect the 5-pin "MIDI OUT" connector to the "MIDI IN" port on your keyboard. Connect the 5-pin "MIDI IN" connector to the "MIDI OUT" port on your keyboard.
Step 4
To connect the keyboard using a USB connection or MIDI to MIDI connection, connect one end of the USB or MIDI cord to the appropriate port on your PC. Connect the other end to the corresponding port on your keyboard.
Step 5
Configure your keyboard depending on your particular software. If connecting through a USB port, you will generally not need to configure as your system will automatically detect the new device. If your PC doesn't detect the keyboard or nothing happens when the connector is appropriately attached, you will need to configure. Use the software that comes with your keyboard to install or download drivers from the manufacturer website and follow the installation instructions.
Video of the Day