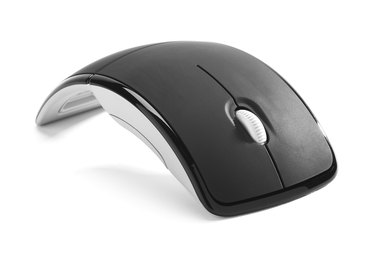
A wireless optical mouse is a convenient choice for many computer users. Wheeled mice can collect dust, dirt and debris inside the wheel trap, causing the mouse to function improperly or not respond at all to movement. Optical mice, on the other hand, use an LED (light-emitting diode) to sense mouse movement. They are less susceptible to malfunction compared with wheeled mice.
Installing a wireless optical mouse only takes a few minutes. As long as your computer can handle wireless optical technology, you need to do little more than plug in the device to start using it.
Video of the Day
Video of the Day
Step 1
Slide off the mouse's battery cover, usually located on the bottom of the mouse. Insert the appropriate battery or batteries (usually AA). Not all wireless optical mice will require batteries, so check the user manual if you are unable to locate a battery cover.
Step 2
Remove the old mouse from your computer. Plug the wireless receiver into an available USB slot. If you do not have a few USB port, attach a USB hub to your computer. A USB hub is a device that contains typically four or more additional USB slots.
Step 3
If the mouse came with an installation CD, insert the CD into your CD or DVD drive. Follow the on-screen instructions to properly install the mouse.
Step 4
Click the Bluetooth icon on the taskbar if the wireless optical mouse uses Bluetooth technology. Click the "Add" button to add the device if it is not already present. Follow the instructions in the configuration wizard. Right-click the mouse icon. Select "Pair Device."
Step 5
Position the mouse so that there is nothing between it and the wireless receiver. Some wireless optical mice still use a radio frequency to communicate back and forth between the mouse and computer, so depending on the model, you may not be able to place the mouse farther than a few feet from the receiver.