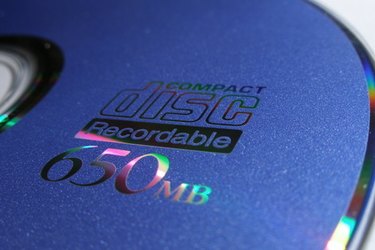
One method of converting cassette tapes to CDs involves hooking up a CD recorder to a cassette deck and simply dubbing the audio playing from the cassette deck to the CD recorder. If you'd rather not invest in a CD recorder, you can use a computer equipped with a CD burner to convert cassettes to CD. Following this process, you have to hook the cassette deck up to the computer, dub the audio playing from the cassette deck to the computer, and then burn the recorded file to a CD.
Connect Cassette Player to Computer
Video of the Day
Step 1
Turn off the cassette deck and computer before performing any cable connections.
Video of the Day
Step 2
Plug the RCA audio plugs located on one end of the stereo Y cable into the RCA out jacks on the back of the cassette deck.
Step 3
Insert the stereo plug located on the other end of the stereo Y cable into the computer's "Line In" jack. (On a PC, the "Line In" jack is the small, blue color-coded jack located on the rear panel.)
Step 4
Plug in a pair of headphones into the cassette deck's headphone jack.
Dub Cassette Audio into Computer
Step 1
Click on "Start," navigate to "All Programs," "Accessories" and "Entertainment." Click on "Volume Control" to open the volume control window.
Step 2
Adjust the input volume to whatever level you desire by moving the "Line In" slider.
Step 3
Put on the headphones and set the cassette tape to the spot where you want to begin recording.
Step 4
Launch the Windows Sound Recorder by clicking on "Start." Navigate to "All Programs," "Accessories" and "Entertainment." Click on "Sound Recorder."
Step 5
Click on the "Record" button in "Sound Recorder" and press "Play" on the cassette deck to begin dubbing the audio. Press the "Stop" button in the sound recorder when the track is complete. Save the file to a folder on the hard drive.
Burn Audio to CD
Step 1
Click on "Start," navigate to "All Programs" and select "Windows Media Player."
Step 2
Switch to "Library" mode. Click on "Library" and select "Add." Browse to the directory where the audio file(s) you recorded in step 2 are stored. Add the files to the library.
Step 3
Click on "Now Playing List" in the upper-right corner and select "Clear List." Click on "Now Playing List" again and select "Burn List." Click on "All Music" in the console tree located in the left-side window panel.
Step 4
Drag each song you want to burn to the CD to the right-side window panel.
Step 5
Insert a blank CD-R disc into the CD-RW drive. Click on "Start Burn" and select "Audio CD." Click on "Start Burn."