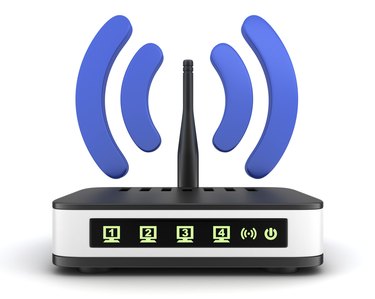
Cable and digital subscriber line (DSL) modems provide wired access to the Internet through an Ethernet socket, also called a CAT-5. You can use this same socket to connect a wireless access point (see Resources for background on wireless access points) in order to connect to the Internet through Wi-Fi. Wireless access points are generally packaged with Wi-Fi routers that combine both wired and wireless connectivity; you can also use a wireless access point without a router. Adding a Wi-Fi router to a cable or digital subscriber line (DSL) modem is possible with a minimal working knowledge of computer networking functionality.
Step 1
Open the Device Manager in Windows 8.1 on your desktop computer and look at the "Network Adapter" heading for wireless LAN adapters to check if your desktop has a built in Wi-Fi adapter. If you do not have built in Wi-Fi connectivity, purchase a high speed USB network adapter with the latest high speed Wi-Fi connection technology. You may want to check your laptop, tablet or smartphone for Wi-Fi capability, although these products generally have built-in network capability.
Video of the Day
Step 2
Plug your computer directly into your modem using an Ethernet cable and connect to the Internet to make sure you have an active wired connection.
Step 3
Unplug the power connection from your modem and connect your router or access point device from its Ethernet socket labeled "Source" or "Input" to your modem's output with an Ethernet cable. Plug both units into a power source. If you are installing a Wi-Fi router, plug your computer into any of the router's numbered Ethernet sockets. Wireless access points generally have a single Ethernet input socket. Plug in your computer here.
Step 4
Run the installation CD or DVD that came with the router or access point. If you do not have a CD or DVD player installed on your computer, use the written instructions that came with the unit. Installation procedures vary, but all units generally require you to open a Web browser and log on to your router by entering its address in the URL field. Typical addresses for PC routers are "http://192.168.1.1" or "http://192.168.0.1," and "10.0.1.1" for Apple routers.
Step 5
Enter the name you wish to call your Wi-Fi connection and the password you want to use to access it. The default name and password are often "admin" and "1234" or "0000." Set the security protocols for your wireless connection. Selections for types of encryption include WEP (Wired Equivalent Privacy), WPA ((Wireless Protected Access) and WPA2. At the time of publication, the general consensus favors selecting WPA2 with Advanced Encryption Standard (AES) protocol because it provides the most effective protection from hackers.
Step 6
Save all changes and recycle your modem and router or access point by unplugging all power and Ethernet connections, waiting 30 seconds and reconnecting everything.
Step 7
Test your wireless connection by opening a browser window. A dialog box appears asking you to select your wireless network. Select it, enter your password and then open any website to ensure you can connect. Try logging in with your laptop, tablet and smartphone. With most devices you need to enter your password only the first time.
Video of the Day
- PCWorld: How to Set Up a Wireless Router
- Youtube: How to Setup your Linksys Wifi Router
- Windows: Set Up a Wireless Router
- Comcast: Set Up Your Wireless Network with a Wireless Gateway
- Linksys: Connecting An Access Point To A Wired Router
- Tom’s Hardware: LAN 102: Network Hardware And Assembly
- Windows: Setting up a home network
- Wireless Home Network: Access Point vs Router