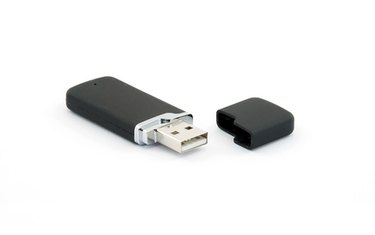
Storing your music files on a USB memory stick rather than an audio CD may be more convenient. A CD is easily scratched or cracked, and it must be stored in a case. While CDs tend to be flatter than memory sticks, they are much wider and can be more difficult to store. A memory stick can easily fit into a pocket. Copying your favorite CDs to a memory stick will enable you to more easily transport the music you love. Windows Media Player, bundled with Windows, enables you to easily remove the files from your CDs.
Step 1
Insert your CD into your CD or DVD drive.
Video of the Day
Step 2
Click "Start." Click "All Programs." Click "Windows Media Player" to launch the program. Navigate to your CD. Click the boxes beside each track you wish to rip. Click "Rip CD." Wait for the ripping process to finish.
Step 3
Plug your memory stick into an available USB port on your computer. Open the stick when the dialog box asks what you wish to do.
Step 4
Click "Start," Click "Music." If you have set Windows Media Player to store your files in a different folder, open that folder instead of your "Music" folder. Double-click the folder icon to open the folder containing the tracks you just ripped. Hold down the left mouse button and drag the box over all of the files.
Step 5
Press and hold the "Ctrl" key and press the "C" key to copy the files. Release the "Ctrl" key. Open the memory stick window. Click anywhere on the white space of the memory stick window to make certain it is the dominant window.
Step 6
Press and hold the "Ctrl" key and then press the "V" key to paste the files onto the memory stick. Release the "Ctrl" key. Wait for the files to transfer to the memory stick. Click "Safely Remove Hardware" in your taskbar and select your memory stick. Remove the stick from your computer.
Video of the Day