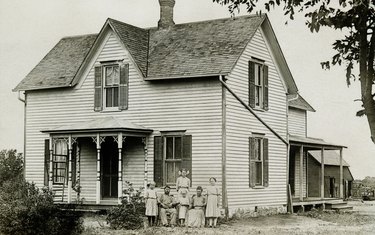
Old family photos were often black and white pictures. Sharing those pictures with other family members meant making copies of the photographs. Before the advent of digital photography and computer scanners, making copies of black and white photos could be costly and typically required the help of a commercial photo lab. Today black and white photos can be copied at home, if you have a scanner and computer. They can also be copied at the office supply store, using a photocopier. Unless the copier is photo quality, though, the results will be inferior.
Step 1
Lift the scanner lid and place the black and white photograph face down on the glass of the scanner. The glass should be clean and free of dust and fingerprints.
Video of the Day
Step 2
Push the scan button on the face of the scanner. Typically this is an icon that looks like a scanner.
Step 3
Choose the image file type to create, such as a JPEG, in the window that opens after completing the previous step. Instructions may vary, according to the type of scanner you are using.
Step 4
Select the type of image you are copying. Scanners often allow you to check the type of image being scanned, such as a document or photograph. Choose photograph.
Step 5
Set the picture settings. Scanners often give you the option of selecting the resolution. If you intend to print the image, choose 300 DPI.
Step 6
Click the link to scan the image. The scanner will scan the photo and save the digital file to your computer, which can be edited, shared or printed.
Video of the Day