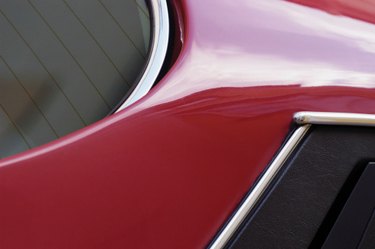
There are times when the paint in a photograph lacks the kind of shine and luster that the object possesses in life. With the use of Adobe Photoshop, you can transform a dull and lackluster image into one that shines. Photoshop offers many built-in tools that are easy to use and can create a dramatic difference in your photographs. By changing the layer properties of an image, you can make the paint stand out and shine.
Step 1
Open your image by selecting "File," then "Open" within Photoshop.
Video of the Day
Step 2
Go to the layer palette on the bottom right corner of your screen. Right-click on the layer titled "Background," and select "Duplicate Layer" if you want to add the shiny paint effect to the entire image. Select only one part of your image by clicking on the Lasso Tool in the tool palette on the left side of your screen. Carefully trace around the edges of the section you want to make shine. Transform the selection into a new layer by clicking on "Layer," then selecting "New" and choosing "Layer via Copy."
Step 3
Click on the new layer in the layer palette. Change the layer property by clicking on the down arrow beside the box titled "Normal." Select "Screen" from the drop-down box.
Step 4
Click on the Eraser Tool if there are parts of the selection that overlap other areas of the image you don't want the effect to be seen on. Carefully erase around the edges of the image.
Step 5
Right-click on the new layer and select "Duplicate Layer." Change the layer property by clicking on the down arrow beside the box titled "Screen." Select "Overlay" from the drop-down box.
Step 6
Go to "Filter" at the top of your screen, then select "Blur" and choose "Gaussian Blur." Drag the slider to the left until the radius reaches 1.0 pixels. Test out other radius sizes if you prefer the image to be more or less blurry. The more the radius increases, the more blurry your image will be.
Step 7
Flatten the image by clicking on "Layer," then "Flatten Image." Save the image by clicking on "File," then "Save as." Save the image as JPG or PNG for the best quality.
Video of the Day