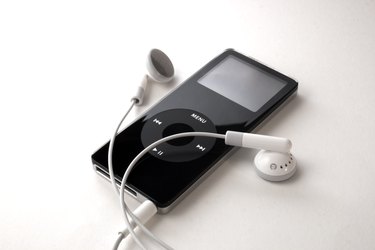
It's fun to sport a new iPod Nano full of tunes, but what happens when those songs get old? If your iPod is full of old junk you don't listen to anymore, maybe it's time to delete everything, which is also called restoring your iPod Nano to its original factory settings. Whether you've just been given a hand-me-down iPod Nano full of someone else's songs, or you're looking to give your music a complete makeover, follow the steps below to learn how to delete everything from your iPod Nano.
Step 1
Check your Internet connection. You may need to update your version of iTunes if you have an outdated version.
Video of the Day
Step 2
Connect your iPod Nano to the USB connector port, and connect the port to your computer. The name of your iPod will appear on the left-hand side of your screen.
Step 3
Select the name of your iPod on the left-hand side, and select the "Summary" tab on the top, center of the iPod Nano information that appears on the screen.
Step 4
Click the "Restore" button. iTunes will prompt you to either: restore with the original iPod software that came on your iPod when you bought it; use the software that was most recently used in the iPod; restore to the newest software available for the iPod via iTunes, or restore and download the newest software available through the Apple website.
Step 5
Enter your username and password, if you are using a Mac. If you are using a PC, you will not have to enter a username or password.
Step 6
Wait for the progress bar on the computer screen to finish loading. The computer will then prompt you to leave your iPod Nano plugged into the computer. Do not unplug the iPod for any reason. The computer will finally prompt you to pick an iPod name and choose syncing directions for your iPod, which should be similar to the prompts you were given when you first purchased or used the iPod. Your iPod will no longer contain the songs or information it did previously.
Video of the Day