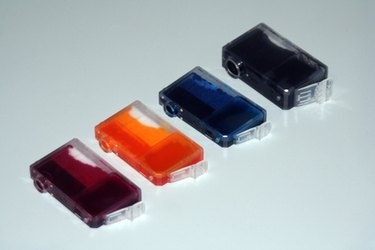
A color printer can drain your color ink cartridges quickly, which can send you back to the store for more too frequently and can be expensive. If you have a color ink cartridge in your printer, the printer will print in color by default. To save ink and printing costs, set your printer to print documents in black and white instead. You'll need to disable color printing for each printer you want to customize. You can disable color printing for a specific document or for all your print jobs and reset the printer at any time.
Disable for Single Print Job
Video of the Day
Step 1
Open the document you want to print.
Video of the Day
Step 2
Select "File" and "Print" from the menu or press "Ctrl"+"P" to load the Print dialog box.
Step 3
Highlight the printer you want to modify from the "Name" drop-down list.
Step 4
Click the "Properties" button to open its dialog box.
Step 5
Select the "Color" tab, check "Print in Grayscale" and click "OK."
Disable for All Print Jobs
Step 1
Click the "Start" button in Windows and select "Devices and Printers" to open the Control Panel.
Step 2
Go to the Printer and Faxes option and right-click the printer you want to modify. Select "Printing Preferences" from the pop-up list. The Printing Preferences dialog box opens.
Step 3
Select the "Paper/Quality" tab, choose "Black & White" and click "OK."