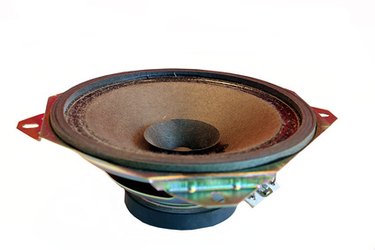
Anybody who has ever used any type of speaker, whether in a car stereo, computer or headphones, knows that eventually the speaker will wear out and the sound quality will diminish. This occurs when the speaker's cone wears out or tears due to overuse. These, and any other parts of a speaker, are replaceable, but not until the speaker is disassembled. Whether for repairs, inspection or educational purposes, knowing how to disassemble a speaker is a skill to have.
Reconing
Video of the Day
Step 1
Remove the speaker from the enclosure. Typically speakers are held in place by four to six screws.
Video of the Day
Step 2
Remove the grilles from the speaker. These are usually held in place by velcro, snaps or screws.
Step 3
Take off the outer foam or rubber ring by prying it off with the putty knife.
Step 4
Pry off the cone with the putty knife
Step 5
Pry the bottom section of the cone out of the metal plate. De-solder any connecting wires. Then remove the cone and spider.
Full Dismantle
Step 1
Remove the cone, spider, and foam from the speaker.
Step 2
De-solder any connecting wires. Pry out the voice coil with the putty knife.
Step 3
Unscrew the basket from the top plate. Bathe the basket and top plate in the industrial solvent to dissolve the binding glue. Remove the basket from the top plate.
Step 4
Bathe the plate-magnet assembly in the solvent to remove binding glue. Carefully pry it apart. The magnet is very strong and may make this very difficult.