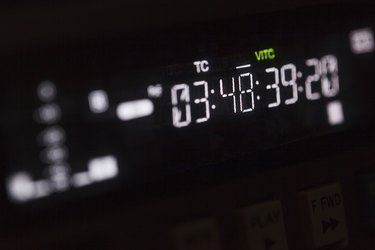
Using source timecodes makes it easier to edit video content because source timecodes do not change even when the video clip is edited or moved to a different part of a film. Apple's QuickTime displays the original timecodes associated with a video clip as an alternative to viewing the clip's timecode relative to your project's total running time. Displaying a timecode in QuickTime is as simple as the click of a mouse, but it requires QuickTime Pro.
Step 1
Open QuickTime by clicking the QuickTime icon on your Mac OS X dashboard or in the Applications folder. Windows users can double-click the QuickTime icon on the Start screen or desktop.
Video of the Day
Step 2
Click "File," select "Open File," select your video file and then click "Open" to load your file in QuickTime. Press the "Play" button to start playback if playback does not begin automatically.
Step 3
Click the video's running time display, which appears next to the video progress bar. Clicking the time display opens a drop-down menu with advanced time-display options.
Step 4
Select "Timecode: Drop-Frame" to change the time display to the video's original timecode. Swapping to a timecode display makes it easier to sort through source videos during editing and to coordinate editing efforts with project contributors. Timecodes are based on the capture source rather than the total runtime, which means timecodes are the same regardless of where a clip is placed in a composition or how many clips are being viewed.
Video of the Day