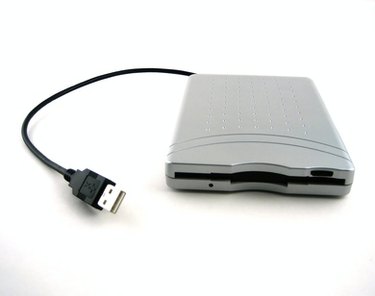
External hard drives are almost exactly the same as the one inside your computer. The difference is that external hard drives are stand-alone peripherals that are easily used with multiple computers. This feature makes the devices ideal for both storing files and transferring them between multiple computers.
Setting Up the Hard Drive
Video of the Day
Step 1
Turn your new computer on and wait while it powers up. If your external hard drive requires an external power source, plug it into an outlet.
Video of the Day
Step 2
Connect the external hard drive to your new computer. This connection will likely use either a USB or FireWire connection, though the connection method is the same. Assuming you have a USB connection, plug the USB cord into the external hard drive, then into an open USB port on the computer.
Step 3
Turn the external hard drive on if it has a power button. Some models turn on automatically upon being plugged in.
Transferring Data
Step 1
Wait 30 seconds to a minute for an "AutoPlay" window to pop up. If it does, simply click "Open folder to view files" or a similar message. If no auto play window appears, hit "Start" and "My Computer" then look for the device. It will most likely have a drive letter associated with it (Similar to your computer's C drive) and say "Removable Storage."
Step 2
Open the device labeled "Removable Storage" (if you haven't already through an autoplay prompt). Search for the files, folders and other data you'd like to transfer to the new computer.
Step 3
Drag and drop the desired files, folders and data into the new computer. Depending on the number of files and their sizes, the actual transferring could take some time.