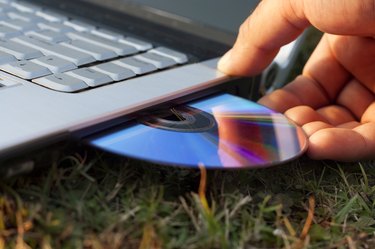
A burned DVD will not work in most DVD players until it's finalized. You can still view the DVD in a computer's DVD burner. When creating movies, home videos, and slide shows, you will want to finalize the DVD in order to play it on any DVD player. Finalizing a DVD means you won't be able to change or add anything else to the disk. All DVD creation programs allow you to finalize DVDs with the click of a button.
Step 1
Open the DVD creation software of your choice. Exact steps will vary based on the software you choose. Nero and Sonic are two popular choices.
Video of the Day
Step 2
Create a new DVD project or open an existing project. You will need a blank DVD or an un-finalized DVD with an existing project on it in your DVD burner.
Step 3
Add any files to your project. All programs have an "Add Files" and "Browse" button in order to add files. To remove any files, select the files in the list and press "Delete." Be sure your project is exactly like you want it before proceeding.
Step 4
Press "Burn" to burn you project or changes to DVD.
Step 5
Press "Finalize" or "Finalize Project" when prompted. There will be a prompt after the burn process has completed. If you don't see a prompt, look at the options menu that is to the left or top of the screen. Select "Finalize" or run your mouse over the toolbar buttons until you find the "Finalize" button. Select or press "Finalize" to finalize your DVD project. Select "Ok" or "Yes" to confirm.
Step 6
Eject your DVD and test it in a regular DVD player. A regular DVD player is one that doesn't burn DVDs and is more than likely a portable DVD player or one that is connected to your television.
Video of the Day