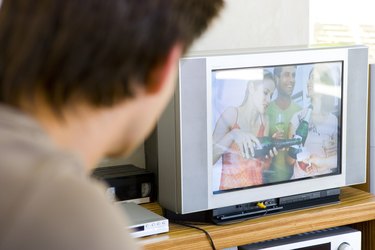
When you connect your JVC television up to any outside source, such as a DVD player or a cable/satellite receiver, the default resolution for the television is going to be used. However, if you have an HD JVC TV and you connect it to a HD cable/satellite receiver you need to correct the resolution and aspect ratio to make sure you are using the best quality settings for your JVC TV.
Step 1
Press the "Zoom" button on the JVC television remote. This button adjusts the way the picture is presented on the screen. This can vary from standard image or squashed image to a zoomed in, cropped picture. You want your image to be "Normal." When the normal setting is displayed you are going to see "Normal" across the bottom of the screen.
Video of the Day
Step 2
Press the "Menu" button on your cable/receiver's remote. This brings up a variety of different options you can choose from. Use the directional arrow buttons on your remote control to select "Options."
Step 3
Find "Video Options" and select "Aspect Ratio." This is going to bring up the different aspect ratios you can use on the television. To have the best resolution presented on your TV you want the aspect ratio to match what your JVC TV is. (480, 720 or 1080). If you are not exactly sure what the aspect ratio is check your user manual.
Step 4
Select the correct aspect ratio and approve the change. Close out the menu options and return to the television programming. You should see the adjusted picture on the JVC TV and the resolution should be at its highest quality.
Video of the Day