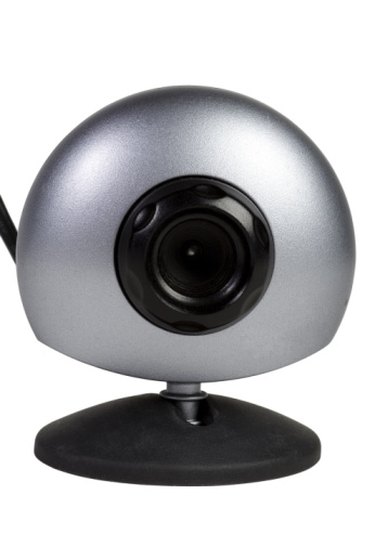
A webcam is first and foremost a camera that uses a lens to gather light reflected by an object. There are a number of reasons why the image captured by the webcam can be blurry, all of which can be remedied. Supplies from a photography store or hobby shop, along with items that most people already have in their homes, are needed. The webcam does not need to be disassembled in any way in order to obtain a sharp and clear image.
Step 1
Launch the webcam's video program by selecting it from the "Start," and the "All Applications" menu. Aim the webcam towards you so that you can see the blurry image presented in the program's video window. Rotate the knurled focus ring that surrounds the lens at the front of the webcam until the image is sharp; if there is no focus ring, position the webcam closer or farther from you until the video image is sharp.
Video of the Day
Step 2
Blow off the lens at the front of the webcam with compressed air. Moisten the end of a cotton swab in photo lens cleaning solution. Wipe the lens with the moistened end of the swab, beginning at the center and rotating in a circle until you reach the outer edge. Wipe the lens dry with a lens tissue in the same manner as was just done, to remove the contaminants that caused the blurry image.
Step 3
Launch the webcam video program that is on the hard drive. Select the "Advanced" or "Options" tab at the top of the program's main window -- depending on how the program is set up -- to bring up a settings window. Reset the "Sharpness" control to 65 percent of the total possible, using a slider control or entering "65" in a text field. Click the "Apply" button at the bottom of the window, followed by the "OK" button to sharpen the image transmitted by the webcam.
Video of the Day