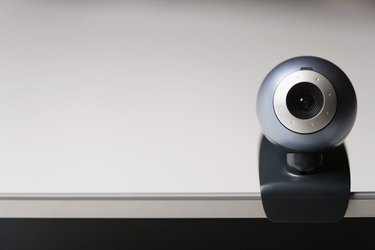
Like any video program, webcams run at specific frames per second (FPS). A high FPS rate means that the video will play seamlessly, while a low FPS rate will result in jumpy and sketchy-looking videos. Although there are many things on your computer that affect your rate, including your available bandwidth, there are small tweaks you can make to increase your webcam's FPS.
Increase the Brightness of Your Picture
Video of the Day
Step 1
Turn on your light source and position it so that you are increasing the amount of light in your webcam's viewing range. Try to keep the source itself out of the viewing range.
Video of the Day
Step 2
Adjust the focus on your webcam to compensate for the new light source. You can adjust the focus on most webcams by rotating the piece holding the lens into the camera.
Step 3
Test the webcam by opening your viewing program and watching the captured image as you move around in front of the webcam. If the image seems to be moving more smoothly than previously, you have successfully increased the frame-per-second capture rate of the webcam.
Defrag Your Hard Disk
Step 1
Click the Windows logo from the start bar located in the bottom left-hand side of your screen.
Step 2
Select "Control Panel" from the list of system options located on the right-hand side of the initial Start menu options.
Step 3
Click "Administrative Tools" to open up the advanced system tools available on your computer.
Step 4
Click "Defragment" and assign the defrag wizard to defrag the "C" drive, your primary hard drive.
Reduce Your Graphics Hardware Acceleration
Step 1
Click the Windows logo located at the bottom left-hand corner of your screen.
Step 2
Click "Control Panel" from the system options presented on the right-hand side of the Start menu options.
Step 3
Click "Appearance and Personalization" from the list of system tools offered to you in the control panel.
Step 4
Click on the "Personalization" tab and then select "Display Settings" from the new options presented to you. Click on the "Advanced Settings" button located under the different display setting features.
Step 5
Slide the "Hardware Acceleration" slider to the left. Click "Apply." Wait a few seconds to make sure the new settings are not going to cause issues with your computer, then click "Save."