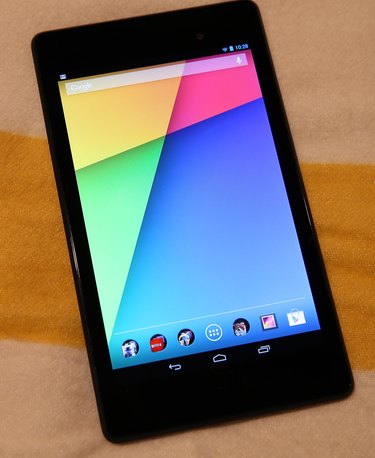
You can install and run Google Play apps on a PC through the free BlueStacks Android emulation program. BlueStacks emulates Android OS on a computer and works with the Google Play store to give computer users full access to Android apps without using an Android device. BlueStacks has some app limitations -- it's an emulation program, so every app is not guaranteed to work. Also, the traditional keyboard and mouse interface may also limit usability in apps.
Step 1
Download and run the BlueStacks installer (see Resources).
Video of the Day
Step 2
Click "Continue" on the installer pop-up window.
Step 3
Check the "App store access" and "App notifications" boxes, and then click "Install." BlueStacks will automatically handle the file directory part of the installation process.
Step 4
Launch the BlueStacks program through the Start Screen icon or the desktop shortcut. BlueStacks may also auto-launch after you install it.
Step 5
Click the magnifying glass icon on the top of the BlueStacks screen.
Step 6
Type in the name of the app you're looking for, and click "Find" to search the Google Play store. You can also view the Google Play store through a Web browser to browse apps.
Step 7
Click "Install" next to the app to install it to the computer.
Step 8
If prompted, click "Continue" to enable the AppStore. Follow the on-screen instructions to log in to your Google account or create a new one.
Step 9
Follow the on-screen instructions to sync the BlueStacks program with any phones or tablets tied to your account. Do not highlight any of the devices if you don't want to sync.
Step 10
Click the Google Play icon to download the App from the Google Play store. Click "Accept" to agree to the terms of service if prompted.
Step 11
Click "Download" on the app listing display, and then select "Accept and Download" to initiate the installation process.
Step 12
Press the "Esc" key multiple times until you return to the BlueStacks home screen, click the "My Apps" option and select the app from the installed apps list.
Video of the Day