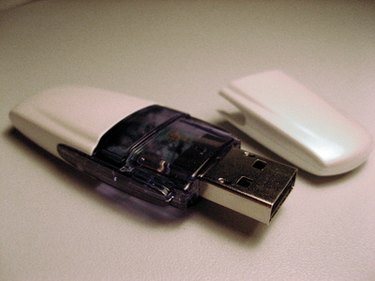
Installing applications on a netbook or other computer without an optical disc drive can prove challenging. Luckily, in most cases, the files can simply be copied from the installation disc to a USB flash drive, which can be used the same way as the disc. The process is extremely simple and straightforward, although it does require access to a computer with both an optical drive and USB ports.
Step 1
Insert the Microsoft Office installation disc into the computer's optical drive.
Video of the Day
Step 2
Insert the USB flash drive into the same computer's open USB slot.
Step 3
Open the "My Computer" folder and browse (Right-click "Explore") the contents of the CD.
Step 4
Select "Edit" > "Select All" and then "Edit" > "Copy" to copy the entire contents of the installation disc.
Step 5
Browse the the contents of the USB flash drive in the same way you explored the contents of the CD.
Step 6
Select "Edit" > "Paste" to paste the installation files onto the USB drive. Once the copying is completed, remove the USB drive.
Step 7
Insert the USB drive into the computer you want to load Microsoft Office on to.
Step 8
Browse the contents of the USB drive on the second computer. Look for the "setup/install.exe" file and double-click it. The installation process will begin, just as if you were installing from the CD. Enter the product key when prompted. Once the installation is complete and Microsoft Office is loaded, you can remove the flash drive.
Video of the Day