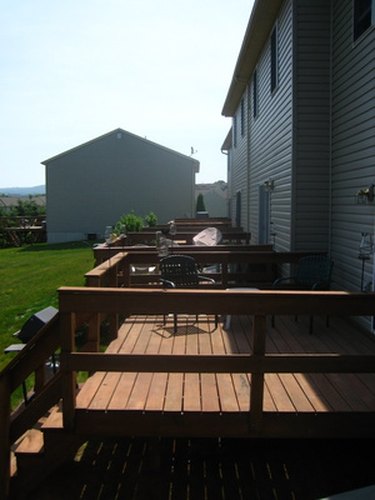
Revit is one of many new applications that are categorized as building information modeling (BIM). The program allows a time-efficient, accurate method of designing and documenting a structure for construction. Revit can be used for the design of houses, as well as commercial and institutional structures. However, some residential features, such as decks, can be difficult to design because Revit does not have a prescribed tool for many of these. Nevertheless, a simple definition and method of construction for a house deck will provide a way to accurately model the feature.
Things You'll Need
Video of the Day
- Revit
- House design
Video of the Day
Step 1
Draw the house in Revit, using the "Wall," "Window," "Door," "Roof," and "Toposurface" tools. The house should be precisely modeled so that the deck can be accurately designed. Do not forget to include overhangs, planters, foundation dimensions, or other features that will impact the layout of the deck.
Step 2
Determine the deck's dimensions and materials by checking your hand sketches, notes, or drafted drawings. Take a few minutes to determine how the deck will be constructed. Most decks are simple wood structures using joists and 5/4 decking, however they can be composed of steel, aluminum, concrete, or masonry as well. Also, determine the location of any structural posts or columns that will support the deck structure.
Step 3
Draw, with "Model Line" in Revit, the limits of the deck in the correct "Floor Plan" view, such as "Level 2." Use precise measurements and use the "Measure" tool to ensure the deck is the correct width and depth.
Step 4
Construct or edit an existing floor family for the deck in Revit with the "Floor" tool. Decks are simply exterior floors, so use a floor family to model the deck. Press "Duplicate" to copy an existing floor type, and edit the family with "Edit Type" in the "Properties" window to create new floor types. Adjust the structure and depth type with the "Edit" button in the floor "Structure" parameter of the "Edit Family" window to accurately portray your deck. For simple, quick deck models you can duplicate a generic floor family, such as "Generic - 12," and adjust the depth of the floor to match your deck. After you have adjusted the parameters, press "OK."
Step 5
Sketch the limits of the deck using the "Floor" tool in Revit. Draw the outline of the deck over the model lines constructed in Step 3. Change the family type so that you use the floor family you have just edited. Press the green "Check" button to complete the floor model. The deck should now be floating in your model.
Step 6
Add rails and structural posts using Revit's "Column" and "Rail" tools. Ensure the rails are oriented correctly. You can create your own handrails by editing the default rails in the "Edit Type" window, or you can use pre-designed rails provided at RevitCity.com or other Revit website.