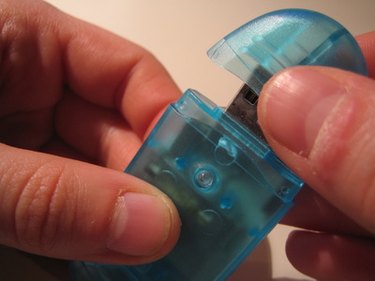
USB drives can be used to store files and applications, but they can also be used as bootable CD-ROMs. If you're working with older computers or those that do not have a working CD drive, then USB CD-ROMs can be useful. Additionally, writing data to a USB drive is often faster than burning a disc, and USB sticks can be reused as data requirements change.
Step 1
Connect a USB drive to your computer and right-click on it on your desktop. Select "Format the Drive" and choose either FAT, FAT16 or FAT32 for the "File System." If you don't know the correct format for your drive, then right-click on it and select "Properties" to view the preferred FAT file system.
Video of the Day
Step 2
Click on "Start" to format your USB. Remember that reformatting your USB will erase all of its data; remove or back up any files you wish to keep.
Step 3
Insert the CD that you wish to put on a USB. Right-click on the disk image and select "Make CD/DVD Image." If you do not have this option, update your operating system or install third-party application such as Magic ISO Maker (see "Resources"). Choose "Make ISO CD image" from the list of options and click "OK" to save the CD to your desktop.
Step 4
Double-click on the new file to verify it mounts and was copied correctly. Click on the ISO file and drag it to your USB key to copy it.
Step 5
Eject the USB drive from your computer and connect it to another machine. Double-click on the ISO file. It should mount directly to the computer. If the CD-ROM does not automatically launch, then you may have to copy it to the computer first.
Video of the Day