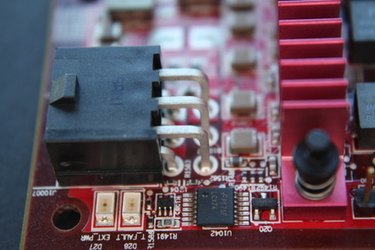
LEDs cannot be dimmed like light bulbs, by simply varying their input voltages. Instead, the current running through them must be directly controlled either by a resistor placed in series with the LED or by more advanced methods like constant current regulators. Since LEDs lack a steady internal resistance, they tend to draw more current than would otherwise be sufficient for adequate lighting. As they glow brighter, their temperature increases and further decreases their internal resistance, potentially leading to a runaway thermal cycle which ultimately destroys the semiconductor. It is for this reason that a driver circuit is almost always necessary. Fortunately, solving the problem of regulating current to an LED will also provide a reliable dimming method.
Step 1

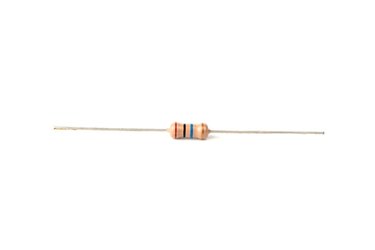
Calculate the resistor values. If using a 9 volt battery and driving a 20mA LED the formula volts / amps provides the resistor value. 9 Volts / 0.020 Amps = 450 Ohms. To determine the power requirements for the resistor use the formula P = I^2_R, or in other words power equals the current, in amps, flowing through the circuit, squared, multiplied by the resistor value in ohms. In this particular case, P = 0.02A^2_450 Ohms, which equals 0.18 Watts. 1/4 Watt (0.25 Watts) resistors are a common type and will be more than adequate.
Video of the Day
Step 2

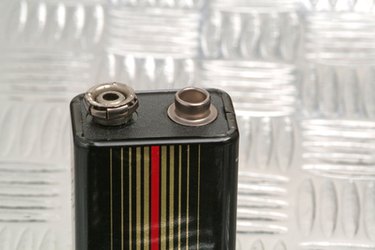
Strip back about 1/8 inch insulation from each of the two 9-volt battery terminal wires with the wire strippers. Also prepare several lengths of jumper wires, cutting them to an appropriate length and pre-stripping the insulation from the ends. This will come in handy later.
Step 3
Solder one end of the resistor to the red wire on the 9-volt battery clip. Solder the other side of the resistor to one of the ends of the potentiometer.
Step 4

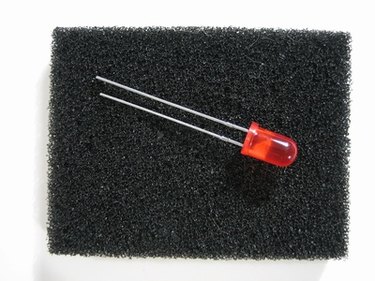
Solder the short end of the LED to the black wire of the 9-volt battery clip. This is where polarity matters. The negative side of the battery must connect to the negative side of the LED, which is marked by the shorter lead.
Step 5
Solder the free end of the LED to the free end of the potentiometer, completing the circuit.
Step 6
Plug in the 9-volt battery to the battery clip. The LED will illuminate. If it doesn't, turn the potentiometer to one far end or the other. The 450 ohm resistor inline with the circuit prevents too much current from flowing through the LED regardless of turning on the potentiometer. To one extreme of the potentiometer the LED will be at maximum brightness, and to the other extreme, the LED will be maximally dimmed, or may be off entirely.
Video of the Day