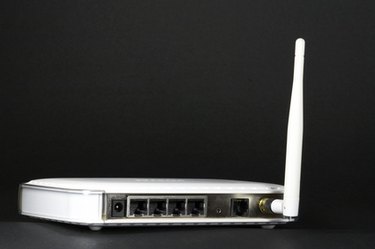
If you want to save and upload onto your external hard drive without having to drag it everywhere, then you will need a "network-attached storage" (NAS) device. This device allows USB flash and external hard drives accessible over a network. With a "NAS" device, you can access files wirelessly from your external hard drive from anywhere in your house.
Step 1
Turn off your wireless router and unplug the external hard drive you want to make wireless.
Video of the Day
Step 2
Plug an Ethernet cable to the "Network-attached storage" device, and the other end of the cable to an available Ethernet port on your wireless router.
Step 3
Connect one end of the USB cable to the wireless router's available USB port and the other end of the USB cable to your "External" hard drive.
Step 4
Turn on the both the Wireless router and the External hard drive. Make sure that your Internet connection is still working.
Step 5
Insert the installation CD and run it on your computer. Follow the installation instructions and install any utilities related to your external hard drive. There may be special utilities provided for flash drives that are not needed for hard drives.
Step 6
Create a login name and security password for the "NAS" device during the setup process. When the installation process is completed, you will now be able to use your external hard drive.
Video of the Day