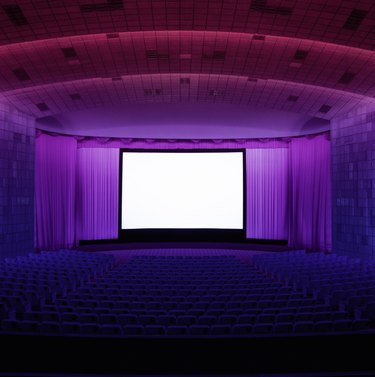
Modern home theaters equipped with projectors have the ability to project stunning, life-sized images on screens measuring 120 inches or more. However, depending on the distance between the projector and the screen, it may become necessary to make the projected image bigger. Using the digital zoom feature of these projectors allows the image to be custom-fit to the screen as needed, allowing more placement flexibility.
Step 1
Turn on the projector using the device's remote control. Allow a few seconds for the projector to warm up.
Video of the Day
Step 2
Examine the projected image to determine the amount of blank space between the projected image and the edges of the screen.
Step 3
Press the "Zoom +/-" buttons on the remote control. Observe the image as it becomes larger and smaller.
Step 4
Press the zoom button to enlarge the image, leaving no space between the edges of the screen and the image itself.
Step 5
Fine-tune the zoom as needed by manually rotating the ring on the front of the projector, if possible. Note that smaller projectors may not have this ability.
Video of the Day