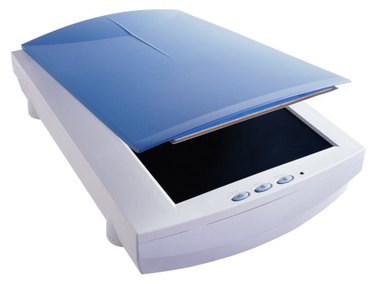
If you scanned a photograph and need to enlarge it for printing or analysis, you can use an image editing program. An image editing program increases the image's size by mathematically enlarging the pixels that make up your photo while maintaining the same perspective. Although it is a simple process, be aware that significant enlargement may cause your photos to appear blurry when you print them.
Step 1
Open up an image editing application on your computer. If you are using Windows, your computer already has Microsoft Paint installed. Alternatively, you can also download a free editor called GIMP.
Video of the Day
Step 2
Open the scanned photo by going to "File" then "Open." Find the scanned photo that you wish to enlarge.
Step 3
Click on the "Image" tab on the menu located at the top of the window. Select "Resize/Skew." Type in a percentage amount in the width and height boxes. For instance, entering "200%" in both boxes will make the photo twice as big. Ensure that you enter the same percentage for both width and height, otherwise the image will appear skewed.
Step 4
Save the enlarged photo by clicking on the "Save" icon or by going to "File" again and selecting "Save As." Type in a name for the file.
Video of the Day