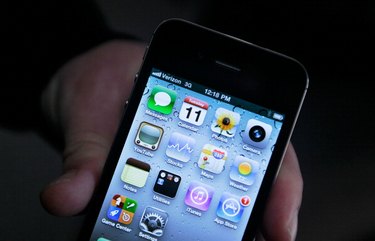
The iPhone Photos app holds all the photos on your iPhone, whether they were synced from your computer or you captured them with the camera. Apple does not currently provide tools for managing folders for your photos on the iPhone. However, you can set up a folder structure for your photos on your computer, and then sync the structure to your iPhone. The Photos app shows all the folders and accompanying photos in the same hierarchy as you set them up on your computer.
Step 1
Locate the folder on your computer from which you sync photos to your iPhone. If you haven't yet set up photos to sync, select or create a folder on your computer.
Video of the Day
Step 2
Open the folder and create and name new folders for each album you want in the Photos app on your iPhone. You can nest folders within folders, if you want.
Step 3
Copy the photos you want in each album into the corresponding folder you created. For example, if you created a folder named "Family," copy all the family photos you want on your iPhone into the folder. Copy vacation photos to a "Vacation" folder.
Step 4
Attach the iPhone USB cable to your iPhone USB port, and then attach the other end to the USB port on your computer.
Step 5
Open iTunes.
Step 6
Select your iPhone in the "Devices" list in the left iTunes panel.
Step 7
Select the "Photos" menu at the top of the main window.
Step 8
Select the "Sync Photos from" option, and then select "Choose folder" from the drop-down list.
Step 9
Locate and select the main folder that contains the new folders you created. Click "Select Folder."
Step 10
Click "Sync." All the photos and folders in that main folder are synced to your iPhone with the same folder structure.
Step 11
Manage the folders on your computer by renaming or moving them within the hierarchy or changing which photos appear in each folder. When you are done managing, click "Sync" to update the information on your connected iPhone.
Video of the Day