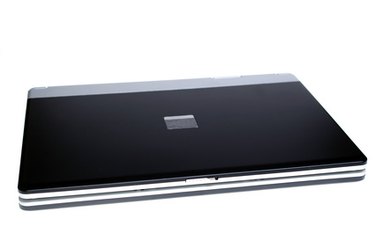
Laptops are one of the great computer innovations. However, for everything they offer a user, there are still a few drawbacks to owning a laptop. Fixing any problem, both small and large, will generally cost the computer's owner an unnecessarily large amount of money if he takes it to a professional for repair. Understanding how to safely and correctly open a Dell laptop may allow users to assess and fix some of the most common problems associated with laptop maintenance themselves.
Step 1
Turn off your computer and disconnect all power sources. Unplug the power cord from the side of the laptop and remove the internal battery pack. To remove the internal battery, flip the laptop over and locate the battery pack release button. Hold the button down as you pull the battery pack from its housing.
Video of the Day
Step 2
Locate and remove the laptop's hard drive. The hard drive is generally located on the left side of most newer Dell laptops. To remove the hard drive, simply slide it out from the side of the computer. For older model Dell laptops, you may need to first unscrew a small plastic cover that hides the system's hard drive before it can be pulled free.
Step 3
Remove all of the screws from the bottom of the laptop's case. Slide the laptop around so that you are looking at the back of the system where the screen's hinges are located. At the base of each hinge is one additional screw that needs to be removed. With a small flat head screwdriver, slide the tip of the screwdriver into the opening on each hinge and gently lift up until you hear a soft click that indicates each of the hinges have been released.
Step 4
Open the screen as you normally would when turning on your computer. Locate the small notch above the top right corner of your keyboard. Insert the tip of the flat-head screwdriver into this opening and softly lift up to remove the panel above the keyboard. From there, lift up slowly on the laptop screen to disconnect it from the body of the computer. Note the two wires that lead from the laptop screen into the computer's body; be sure not to lift up so hard that you disconnect these wires. Lay the screen aside flat, allowing enough slack that the wires can rest without any strain.
Step 5
Flip the keyboard on its face to expose the metal plate that resides underneath. Using the Phillips screwdriver, unscrew each of the screws that hold the metal plate in place. Once the screws are removed, lift the plate free and set it aside. Follow the keyboard's connection down to where it adheres to the motherboard. Lift up on the small plastic tab that holds down the connection and then pull the keyboard free. You will now be able to separate the two halves of the laptop's plastic case to see the computer's internal components.
Video of the Day