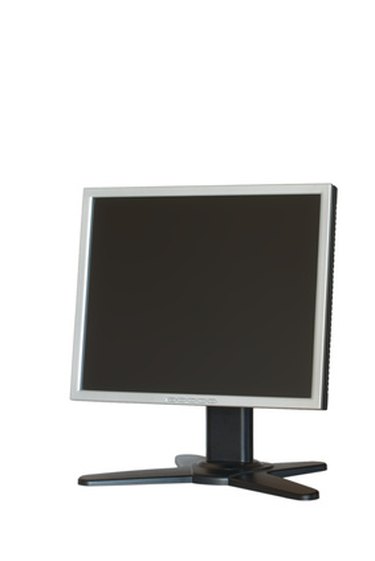
Repairing a Dell LCD monitor can often cost more than the monitor is worth. Unfortunately, Dell does not repair monitors; it only replaces them while they are under warranty. Therefore, if your Dell LCD monitor malfunctions after the warranty expires, your best option might be to try to repair it yourself. If you must repair or replace one of the internal components of your Dell LCD display, you will likely have to open the monitor to expose the circuitry.
Step 1
Turn off the power to your Dell monitor and unplug it. If your monitor is connected to a computer, shut down the computer before turning off or disconnecting your monitor.
Video of the Day
Step 2
Lay the monitor facedown on a padded, flat surface.
Step 3
Remove the screws attaching the monitor to the stand.
Step 4
Remove any screws attaching the back cover of the monitor to the front cover.
Step 5
Remove the back cover of the monitor. Secure the monitor from both sides and insert the edge of a flat-head screwdriver into the groove on the bottom of the monitor where the back cover meets the body. Gently pry the back cover upward and lift it straight up.
Step 6
Remove the metal plate at the bottom of the monitor to expose the high-voltage connectors (pink and white wires). If you cannot remove the plate by hand, gently pry it away from the monitor with a flat-head screwdriver.
Step 7
Disconnect the high-voltage connectors by pulling the white plastic ends straight out of their sockets.
Step 8
Remove the screws on each side of the monitor.
Step 9
Detach the metal housing from the monitor to expose the circuits and other components. Grab the housing on each side and lift it straight up.
Video of the Day