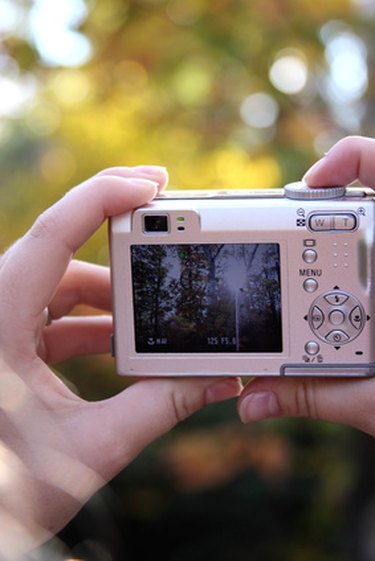
You can print your photos out at a Walgreens in-store photo center by placing your disk or memory card into the photo kiosk and choosing from a number of options, such as photo size, photo finish and products that you wish for your photo to appear on, such as coffee mugs or T-shirts. The Walgreen's photo machines walk you through the process by giving you step-by-step prompts that tell you how to choose each option until you finish printing your photos. Printing photos at a Walgreens kiosk offers ready-made prints for gifts such as holiday cards.
Step 1
Go to a photo kiosk at Walgreens. Insert your camera's memory card or a disk into the compatible drive found on the front exterior of the photo machine.
Video of the Day
Step 2
Upload your photos onto the machine. Wait until your photos appear on the screen, signifying the completion of the uploading.
Step 3
Select the pictures your wish to print by touching the screen of the photo machine.
Step 4
Choose the size and format of each picture. Make adjustments, if necessary, by following the prompts on the machine.
Step 5
Choose the type of finish for your pictures, such as matte finish or glossy finish. Choose the number of prints of each picture that you want to print.
Step 6
Wait for the machine to print your pictures. This can take some time if you are printing multiple pictures. Get your pictures and receipt from the dispensary at the bottom of the machine.
Step 7
Bring your pictures and receipt from the machine to a front register. Pay the cashier the amount owed for printing the pictures. This amount is shown on the receipt.
Video of the Day