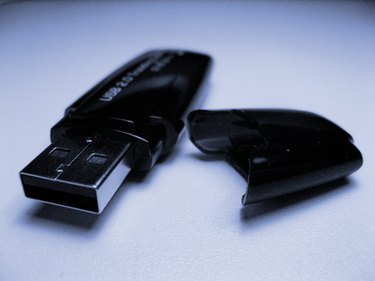
Flash drives organize files in alphabetical or numerical order. When transferring music files to a flash drive, the drive will reorganize the music files according to the title of the song. This makes it difficult to organize the music files to your preference. You can manipulate the flash drive so each song is listed in your preferred order. It is easiest to do this by inserting numbers before the file name.
Step 1
Right-click in an empty space on your computer desktop with your mouse. Choose "New" and "Folder" from the drop-down menu.
Video of the Day
Step 2
Click in the folder title field, and rename the "New folder" any name you want. The name of the folder will become the playlist.
Step 3
Find all music files that you want to add to the new folder.
Step 4
Right-click on the music file that you want listed first on your flash drive. Select "Rename" from the drop-down menu.
Step 5
Insert a number before the name of the file. This number represents the order in which you want the file to be listed on the flash drive. For example, if the song is "MySong.mp3," rename the file "01- MySong.mp3." Repeat this process and insert numbers in front of each song.
Step 6
Drag the renamed music files into the desktop folder created in Step 1 with the mouse.
Step 7
Repeat Step 5 and rename every music file in the order that you want them listed on your flash drive.
Step 8
Plug the flash drive into the computer's USB port.
Step 9
Select "Open folder to view files" in the Windows AutoPlay window. Alternatively, click on the desktop "Start" menu and choose the "Computer" or "My Computer" folder. Select the drive folder that represents the flash drive.
Step 10
Drag the entire music folder, or each song individually, and drop it into the flash drive folder. Your music files will now appear in the order you want them.
Video of the Day