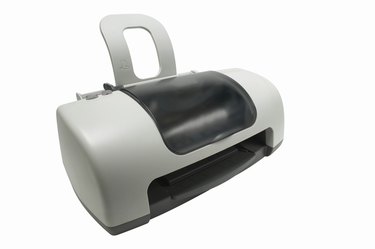
Printing 5x8 index cards in programs like the Microsoft Office Suite for the PC, or the OmniFocus personal productivity applications on the Mac can be a difficult process. Most programs have a printer default geared towards printing standard 8.5x11 inch letter sized documents. You have to alter the page settings of these programs in order to print on a 5x8 sized index card. Fortunately, the majority of commonly used programs use the same process of altering the page setup, so what works in Microsoft Office also happens to work in Open Office.
Step 1
Open the file containing the contents for printing to the 5x8 index card.
Video of the Day
Step 2
Select the "Page Setup" menu, generally found through the "File" menu. Using "Page Setup," select the size of your page for printing.
Step 3
Open the page setup options for size settings. Enter a height of eight inches and a width of five inches. This should alter the page displayed on your screen for printing on a 5x8 sized index card with the type placed horizontally across the five inch width of the card. Save the page setup by clicking "OK."
Step 4
Print in landscape mode with the print extending across the greater length of your card by entering a width of eight inches and a height of five inches. Exit the setup by pressing "OK," and then in the "Page Setup" menu select the "Landscape" option.
Step 5
Alter the current contents of your file to fit the new index card sized page, or enter new information for printing onto the index card.
Step 6
Place the index cards into the printer. The cards should be placed with the long side feeding into the printer and the shorter size horizontal for the step 3 orientation, or placed with the long size horizontal for the landscape setting in step 4.
Step 7
Click "Print" and choose your printer from the choices. Click "OK" to send your print job to the printer.
Video of the Day